


Build Introduction
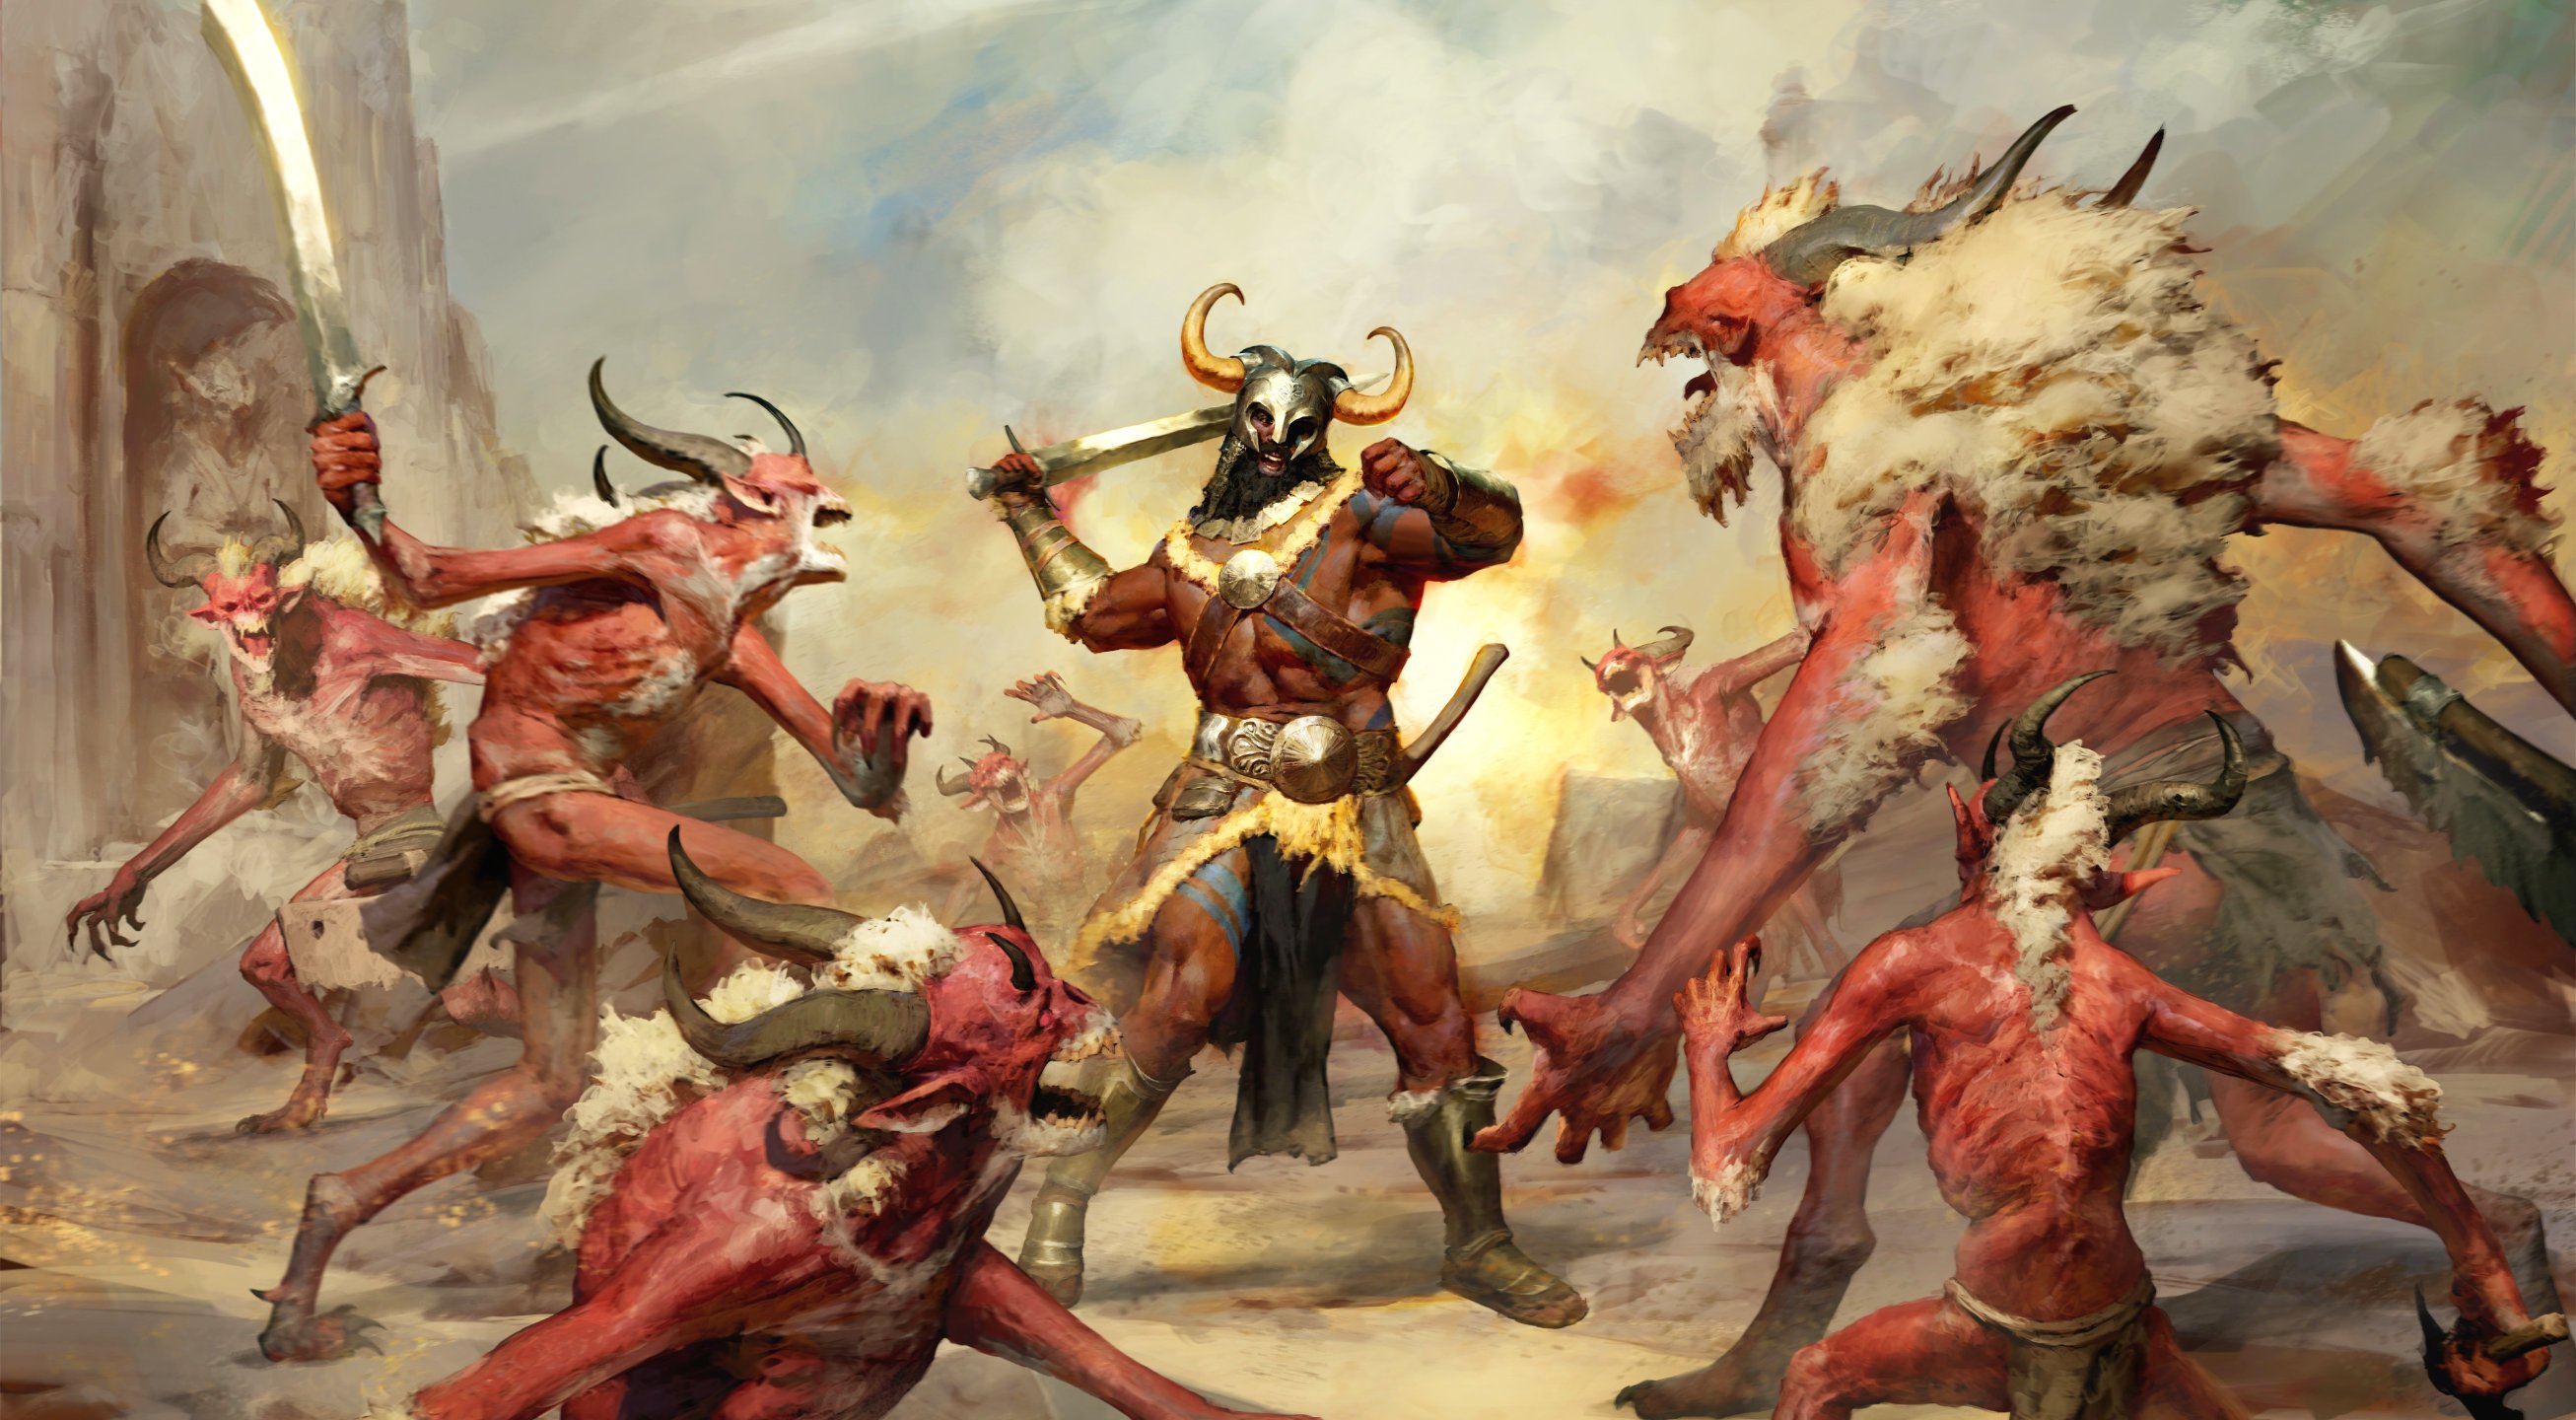
Welcome to the comprehensive guide for the Basic Cleave for the endgame of Diablo 4. This build, made possible by the new unique ![]() Hooves of the Mountain God, which allows your basic skills to cleave foes down, providing powerful, fast attacks without needing to manage a ton of resources. This allows you to turn your normally weak low damage basic skills in powerful area attacks capable of shredding the toughest of foes in seconds.
Hooves of the Mountain God, which allows your basic skills to cleave foes down, providing powerful, fast attacks without needing to manage a ton of resources. This allows you to turn your normally weak low damage basic skills in powerful area attacks capable of shredding the toughest of foes in seconds.
Strengths and Weaknesses
- Powerful generator based damage
- Fast attack speed
- Great defensive power
- Requires a specific unique
- Cooldown management
Build Requirements
 Aspect of the Moonrise
 Aspect of AdaptabilityAspect of Earthquakes
Quick Navigation
Want to skip ahead? Use the table below to jump to the sections you are looking for.
Skill Bar and Skill Tree Points
 Lunging Strike
  Ground Stomp
  Rallying Cry
  War Cry
  Challenging Shout
  Wrath of the Berserker
 Follow the points allocated in the image above for the complete 71-point build. The additional skill points are obtained using the Renown system.
Barbarian Class Mechanic – The Arsenal System
The Barbarian can wield four weapons simultaneously, as well as choose a weapon expertise to use as their Technique, allowing them to gain that weapon’s bonus even if they’re wielding another weapon type. Finally, the Barbarian can assign its skills to use different weapon types, shuffling between Two-Handed Bludgeoning Weapons, Two-Handed Slashing Weapons, and Dual-Wield Weapons.
For this build, we’ll want to assign ![]() Lunging Strike to our Dual-Wield Weapons to benefit from
Lunging Strike to our Dual-Wield Weapons to benefit from ![]() Ramaladni’s Magnum Opus
Ramaladni’s Magnum Opus
![]() Frenzy requires us to assign it to our Dual-Wield Weapons, so we don’t get a choice here, but this is ideal as it will also benefit from
Frenzy requires us to assign it to our Dual-Wield Weapons, so we don’t get a choice here, but this is ideal as it will also benefit from ![]() Ramaladni’s Magnum Opus
Ramaladni’s Magnum Opus
The Barbarian’s main class system is Weapon Techniques and passive skills that are granted after completing the level 15 Class Quest. This unlocks passive bonuses when wielding certain weapon types. Additionally, after completing this quest, you unlock the Technique Slot, which lets you place a specific weapon type in it and always get that bonus regardless of whether or not you’re wielding that particular type of weapon.
For this build, we will want to use a Polearm for our technique slot to gain its multiplicative damage bonus while we’re healthy (above 80% life) for even more damage on all of our skills.
Gear, Stats, Gems, and Runes
The following sections will cover all systems that are critical if you want to improve the power of your character and move towards the highest difficulties in the endgame of Diablo 4.
Legendary Aspects
Below, you will find all of the best-in-slot Aspects found on Legendary Items that are important for this build. Remember that all Legendary powers can be added to your Codex of Power once you salvage the item. You can still find some aspects through dungeons, though they will always be at the minimum power level. To get the most out of this system, combine these Aspects with the right stats.
| Slot | Gems | Legendary Aspect / Unique Item | Aspect / Unique Power |
| Helm | – Casting | ||
| Chest | – Lucky Hit: Inflicting Bleeding on an enemy has up to a [20-60%] chance to reduce the Cooldowns of your skills by 1 second. | ||
| Gloves | N/A | – Damaging enemies with a Non-Basic Skill marks them for 3 seconds. when a Basic Skill first hits a marketed enemy, the Basic Skill’s damage is echoed to all marked enemies dealing x[75-125%] increased damage. | |
| Pants | – You deal [10-20%] increased damage while Unstoppable and for 5 seconds after. When you become Unstoppable you gain 50 of your Primary Resource | ||
| Boots | N/A | – When reaching Maximum Fury, your Fury will rapidly drain until you run out and all your Basic Skills now cleave and deal x[70-100%] increased damage | |
| Amulet | Aspect of Adaptability | – Basic Skills generate 5 additional primary resource, one per Skill. Basic Skills deal x[0.4-0.6%] increased damage for each point of Primary Resource you have | |
| Ring 1 | Vehement Brawler’s Aspect | – Casting an Ultimate Skill increases your damage by [10-30%] for 8 seconds. Gain 2 additional Ultimate Skill ranks | |
| Ring 2 | Bold Chieftain’s Aspect | – Whenever you cast a Shout Skill, its active Cooldown is reduced by [10-30%] per nearby enemy up to a maximum of 70% | |
| 2H Bludgeoning Weapon | Aspect of Earthquakes | – | |
| 2H Slashing Weapon | Aspect of the Moonrise | – Damaging an enemy with a Basic Skill grants you 4% Attack Speed for 10 seconds, stacking up to 5 times. Upon reaching maximum stacks you enter a Vampiric Bloodrage gaining [40-60%] Basic Skill damage and 15% Movement Speed for 10 seconds. | |
| Dual Wield Weapon 1 | – Basic Skills deal [50-150%] increased damage but additionally cost 25 Primary Resource. | ||
| Dual Wield Weapon 2 | – Skills using this weapon deal [0.2-0.5%] increased damage per point of Fury you have, but 10 Fury drains per second |
To see how this build compares to others on our site, you can check out our Endgame Build Tier List.
Stat Priority and Tempering Affixes
Below are the affixes to prioritize on gear. Each line of affixes is listed in order of importance. Tempering Manuals and their recommended affixes are provided in the second column, and the bolded yellow affixes are the most important targets for Masterworking upgrades. Be sure to check our Tempering and Masterworking guides for more details about these topics.
| Slot | Gems | Gear Affixes | Tempering Affixes |
| Helm | 1. Maximum Life 2. Cooldown Reduction 3. Strength 4. Resistance to All Elements | | |
| Chest | 1. Strength 2. Maximum Life 3. Resistance to All Elements 4. Armor | Earthquake Size | |
| Gloves | N/A | 1. Critical Strike Chance 2. Attack Speed 3. Strength 4. Critical Strike Damage | Damage While |
| Pants | 1. Ranks to 2. Maximum Life 3. Resistance to All Elements 4. Strength | Earthquake Size | |
| Boots | N/A | 1. Armor 2. Movement Speed 3. Ranks to War Cry 4. Fury Per Second | Movement Speed |
| Amulet | 1. Strength % 2. Ranks to 3. Ranks to 4. Cooldown Reduction | | |
| Rings | 1. Attack Speed 2. Crititcal Strike Chance 3. Resistance to All Elements 4. Strength | | |
| 2H Bludgeoning Weapon | 1. Strength 2. Maximum Life 3. Critical Strike Damage 4. Fury on Kill | Change for | |
| 2H Slashing Weapon | 1. Strength 2. Maximum Life 3. Critical Strike Damage 4. Fury on Kill | Ranks to | |
| Dual-Wield Weapons | 1. Strength. 2. Maximum Life 3. Critical Strike Damage 4. Vulnerable Damage | Ranks to |
Uniques and Mythic Uniques
Uniques
Uniques items are powerful additions to any build, they can now roll much higher ranges and break all the traditional itemization rules for what stats can appear on which slots. Below, you will find Uniques and Mythic Uniques useful to this build.
 Hooves of the Mountain God – This new unique enables Barbarians to finally have a basic skill and generator playstyle by taking the beloved bash cleave archetype and making the cleave available to all basic skills while providing another big damage amp. This unique is a MUST HAVE to get this build online.
 Shard of Verathiel – A new build enabling sword. This gives us a huge modifier to all generators such as
  Bash but makes them cost 25 Primary Resource in addition to their normal effects. Bash generates 15 Fury each time it is cast, so the reality is that this will only cost 10 but thanks to other uniques in the build, it will be even less and can reach a point with proper rolls on our gear that we’re generating more fury than we’re spending allowing us to benefit entirely from this item’s damage bonus without suffering any downside Another MUST HAVE to get things rolling
 Ugly Bastard Helm – While changed in the most recent update to only give its massive 100% damage multiplier while
  Wrath of the Berserker is active instead of generic berserking, we still benefit from this powerful helm
 Rage of Harrogath – Since
  Battle Lunging Strike causes a minor bleed, this means we can benefit from the cooldown reduction from this chest as well as its various bonuses which should keep us up and running to power through even the toughest bosses
 Tibault’s Will – A staple item ever since its introduction, these pants provide much more power for many builds at the cost of some defense as they lack resistances and armor. You can forgo these pants for more traditional pant options but you’ll be dealing less damage without their multiplier.
 Paingorger’s Gauntlets – A former favorite of Bash Cleave Barbarian, this unique has been updated and had many of its previous bugs fixed and is now coming to the forefront again providing this Lunging Strike Basic Cleave setup with even more damage and clear speed.
Mythic Uniques
 Ring of Starless Skies – Our Mythic Unique of choice. Thanks to Shard of Verathiel turning basic skills into fury spenders, this item will grant us its stacking buff, providing another huge multiplier and more resource cost reduction to ensure we can keep bashing to our heart’s content. This will basically solve resources for you as our basic skills will generate more than they cost from Shard of Verathiel, meaning we’re always fury positive on every cast. An extremely powerful mythic. If you acquire this ring, drop Bold Chieftain’s Aspect from your rings.
Gems and Runewords
Listed below are the best gems to socket into your items for each slot type.
Gems
| Weapon Gems | Armor Gems | Jewelry Gems |
For your jewelry, you can freely swap between Diamonds and Skulls based on your needs. Armor and Resistances no longer have hard caps you need to hit to reach your defensive potential. Instead you can now freely swap the gems between them depending on what you need the most. Are you dying to physical strikes? Use Skulls for more armor. Are you dying to elemental abilities light lightning damage or poison pools? Use Diamonds for more resistances. Always be sure to check your Toughness stat and use what works best for you!
Runes
Runewords return from Diablo 2 in Vessel of Hatred! You are limited to two Runewords across your gear and it requires two sockets in the same item. So this limits creating Runewords by combining two Runes to either Helm, Chest, Pants, or Two-Handed Weapons. We generally recommend them in both of your Two-Handed Weapons for Barbarian. Let’s jump in.
| Rune Name | Rune Effects |
| Gain 25 Offering: Stores up offering every 0.3 seconds. Ccast a Non-Basic Skill to gain the stored offering | |
| Requires 50 Offering; Cooldown 1 Second: Invoke the Barbarian’s Earthquake dealing damage to enemies within | |
| Gain 100 Offering: Cast 2 Mobility or Macabre Skills | |
| Requires 400 Offering: Cooldown 1 second, Casting a Skill other than a Basic or Defensive Skill spends all your Primary Resource to increase your damage up to 100% for 1 second. |
Paragon Board
We recommend using the following Legendary nodes and Rare Glyphs to truly take this build into the endgame. Note that each Rare Glyph’s information and radius listed below is for the Level 100 version. As a reminder, Glyphs unlock their final radius at level 46 and their legendary bonuses at Level 45. Let’s take a look!
Season 11 Mechanics
Divine Gifts
As you complete the season journey and fight across Sanctuary you will earn the ire of the lesser evils. Defeating them will grant you corrupted essences which you can then purify into Divine Gifts. There are 8 of these in total and you will have four Purified and four Corrupted allowing you to modify various content and get different boons and reward as a result. For this build our recommended setup is below:
Purified
- Essence of Lies
- Essence of Pain
- Essence of Screams
- Essence of Sin
Corrupted
- Essence of Squalor
- Essence of Shadows
- Essence of Anguish
- Essence of Hellfire
Sanctification
Season 11 brings a new way to “Finish” an item called Sanctification. Any item of item power 750 or higher can be Sanctified, but BE WARNED: Sanctification will make it so that you cannot alter the item any further so it should always be the final step in the crafting process! It provides many powerful options to enhance your builds. While there are no bad outcomes with all Sanctification bonuses providing some power, there are some options that provide larger bonuses than others, so we recommend the follow options if you’re fortunate enough to acquire them:
- %Strength
- Attack Speed on your 2-Handed Weapons
- Adding
 Hectic Aspect to your item
 - Adding Rapid Aspect to your item
- Cooldown Reduction
Mercenaries
As you play through the campaign in Vessel of Hatred, you will unlock various NPC Mercenaries who can join you on your quest to slay demons. Each Mercenary has their own small talent tree that will give them bonuses and skills to help you. Additionally, you can assign a Mercenary that you don’t take with you as a reinforcement to jump in when you activate certain skills. Let’s take a look at how we want to set this up for this build
We hire Varyana, the Berserker Crone
- Core Skill:
 Cleave
 - Core Skill Passive:
 Hysteria
 - Iconic Skill:
 Bloodthirst
 - Iconic Skill Passive:
 Bloodlust
Our Reinforcement Mercenary will be Raheir, the Shieldbearer
Build Mechanics
Rotation and Playstyle
This build uses a very straightforward generator playstyle. We have no Fury spender beyond one button and we only use that for a buff, as explained below in the Advanced Information section, but let’s quickly go over our skills:
- Lunging Strike is our main damage source and mobility all in one button. We should press this non-stop to zip around to monsters and blow them up.
 Rallying Cry and
  War Cry are our buffs. Rallying Cry gets us some resources to get rolling and increases our generation, helping smooth out the Fury Drain from
 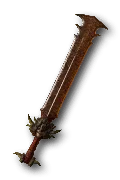 Ramaladni’s Magnum Opus and Hooves of the Mountain God. War Cry is our damage amp, which we should be mashing as often as possible, but especially against tough elites and bosses.
 Ground Stomp has three uses in our rotation. We press it to stun enemies, yes, but also it spawns an Earthquake through Aspect of Earthquakes, which provides a damage amplification while we stand in it, and it reduces our Wrath of the Berserker cooldown thanks to Strategic Ground Stomp. We want to keep this button on cooldown to maintain wrath uptime and keep the buff from the quakes it spawns as we move from pack to pack
- Wrath of the Berserker our ultimate skill of choice and now required to gain the massive damage bonus from Ugly Bastard Helm, we want to aim with our setup to achieve near 100% uptime on this skill so we’re constantly gaining all of its benefits from being Unstoppable and gaining the buffs from Tibault’s Will, to the aforementioned helm, to being Berserk which is a core Barbarian class feature. Long story short, this cooldown does everything you want from a major cooldown. Press it all the time.
Runeword Synergy
Let’s take a moment to review our runes and how they interact with this build.
 Moni is our first rune, and it may seem strange until you realize that Lunging Strike has the Mobility tag and counts for this rule. Every 2 casts of our main attacking skill will trigger this rune, a great deal for a lot of offering.
 Qax takes all that offering and lets us control when to burst. It only triggers when a Non-Basic Non-Defensive skill is cast. For us, this means when we cast anything other than Lunging Strike or War Cry, this rune will pop once we have the offering. This means we can then choose to pop it, have it eat our resources (which we’ll gain back very quickly thanks to the Fury Per Second on Hooves of the Mountain God and Lunging Strike being a generator) to do a massive amount of damage to our targets.
 Igni stores up around 75 offering every 1 second, and we cast a Non-Basic Skill to acquire this offering, saving for more every second up to 500 offering in between packs.
 Tec is one of our ways to generate Earthquakes, so we benefit from the Aspect of Earthquakes‘s damage increase, making our basic skills even stronger. The more offering stored from Igni, the larger the quake area, which gives us some more room to work.
Which Elixirs Should You Use?
When in town, you can visit the Alchemist to craft helpful elixirs, which will provide a special effect and increase your experience gain. Almost all herbs in the world drop as Bundles of Dried Herbs, allowing you to craft the elixirs you want. Some elixirs cannot be crafted and can only drop from things like Helltide or Nightmare Dungeons.
For this build, we recommend ![]() Elixir of Resourcefulness for the increased maximum resources to scale both
Elixir of Resourcefulness for the increased maximum resources to scale both ![]() Ramaladni’s Magnum Opus and Aspect of Adaptability. Craft the highest-value Elixir you can so you can get the most attack speed possible.
Ramaladni’s Magnum Opus and Aspect of Adaptability. Craft the highest-value Elixir you can so you can get the most attack speed possible.
Season 11 Updates
For a comprehensive look at what’s new in Season 11, please check out our Season Hub.
Here is a quick list of the changes this season that are relevant to this build.
- Damage per 10 points of Strength increased from 1% to 1.1%
- Carnage damage increased from 30% to 45%
- Blood Rage damage increased from 45% to 60%
- Weapons Master damage increased from 30% to 45%
- Decimator damage increased from 20% to 25%
Obol Gambling
A final point on acquiring gear is using your Obols to target farm specific slots instead of randomly spending them on random drops. Similar to Kadala in Diablo 3, you can use Obol vendors in town to try and get what you’re missing. When a level 60 Character spends Obols, all gear from that vendor will be 750 item power, the highest non-Ancestral in the game, allowing you to fill out gear with the affixes or Legendary Aspects you need.
Check out our Obol Gambling Tool Guide HERE.
Changelog
- December 5th 2025: Build updated for Season 11
- September 17th 2025: Build updated for Season 10
- July 16th 2025: Updated class mechanic section and suggested stats
- July 10th 2025: Build updated with bugfixes and shift to Paingorgers in lieu of said fixes
- June 28th 2025: Build changed and update for Season 9 as Basic Cleave
- April 25th 2025: Reformatted and updated for Season 8
- March 31st 2025: Skill tree recommendations updated
