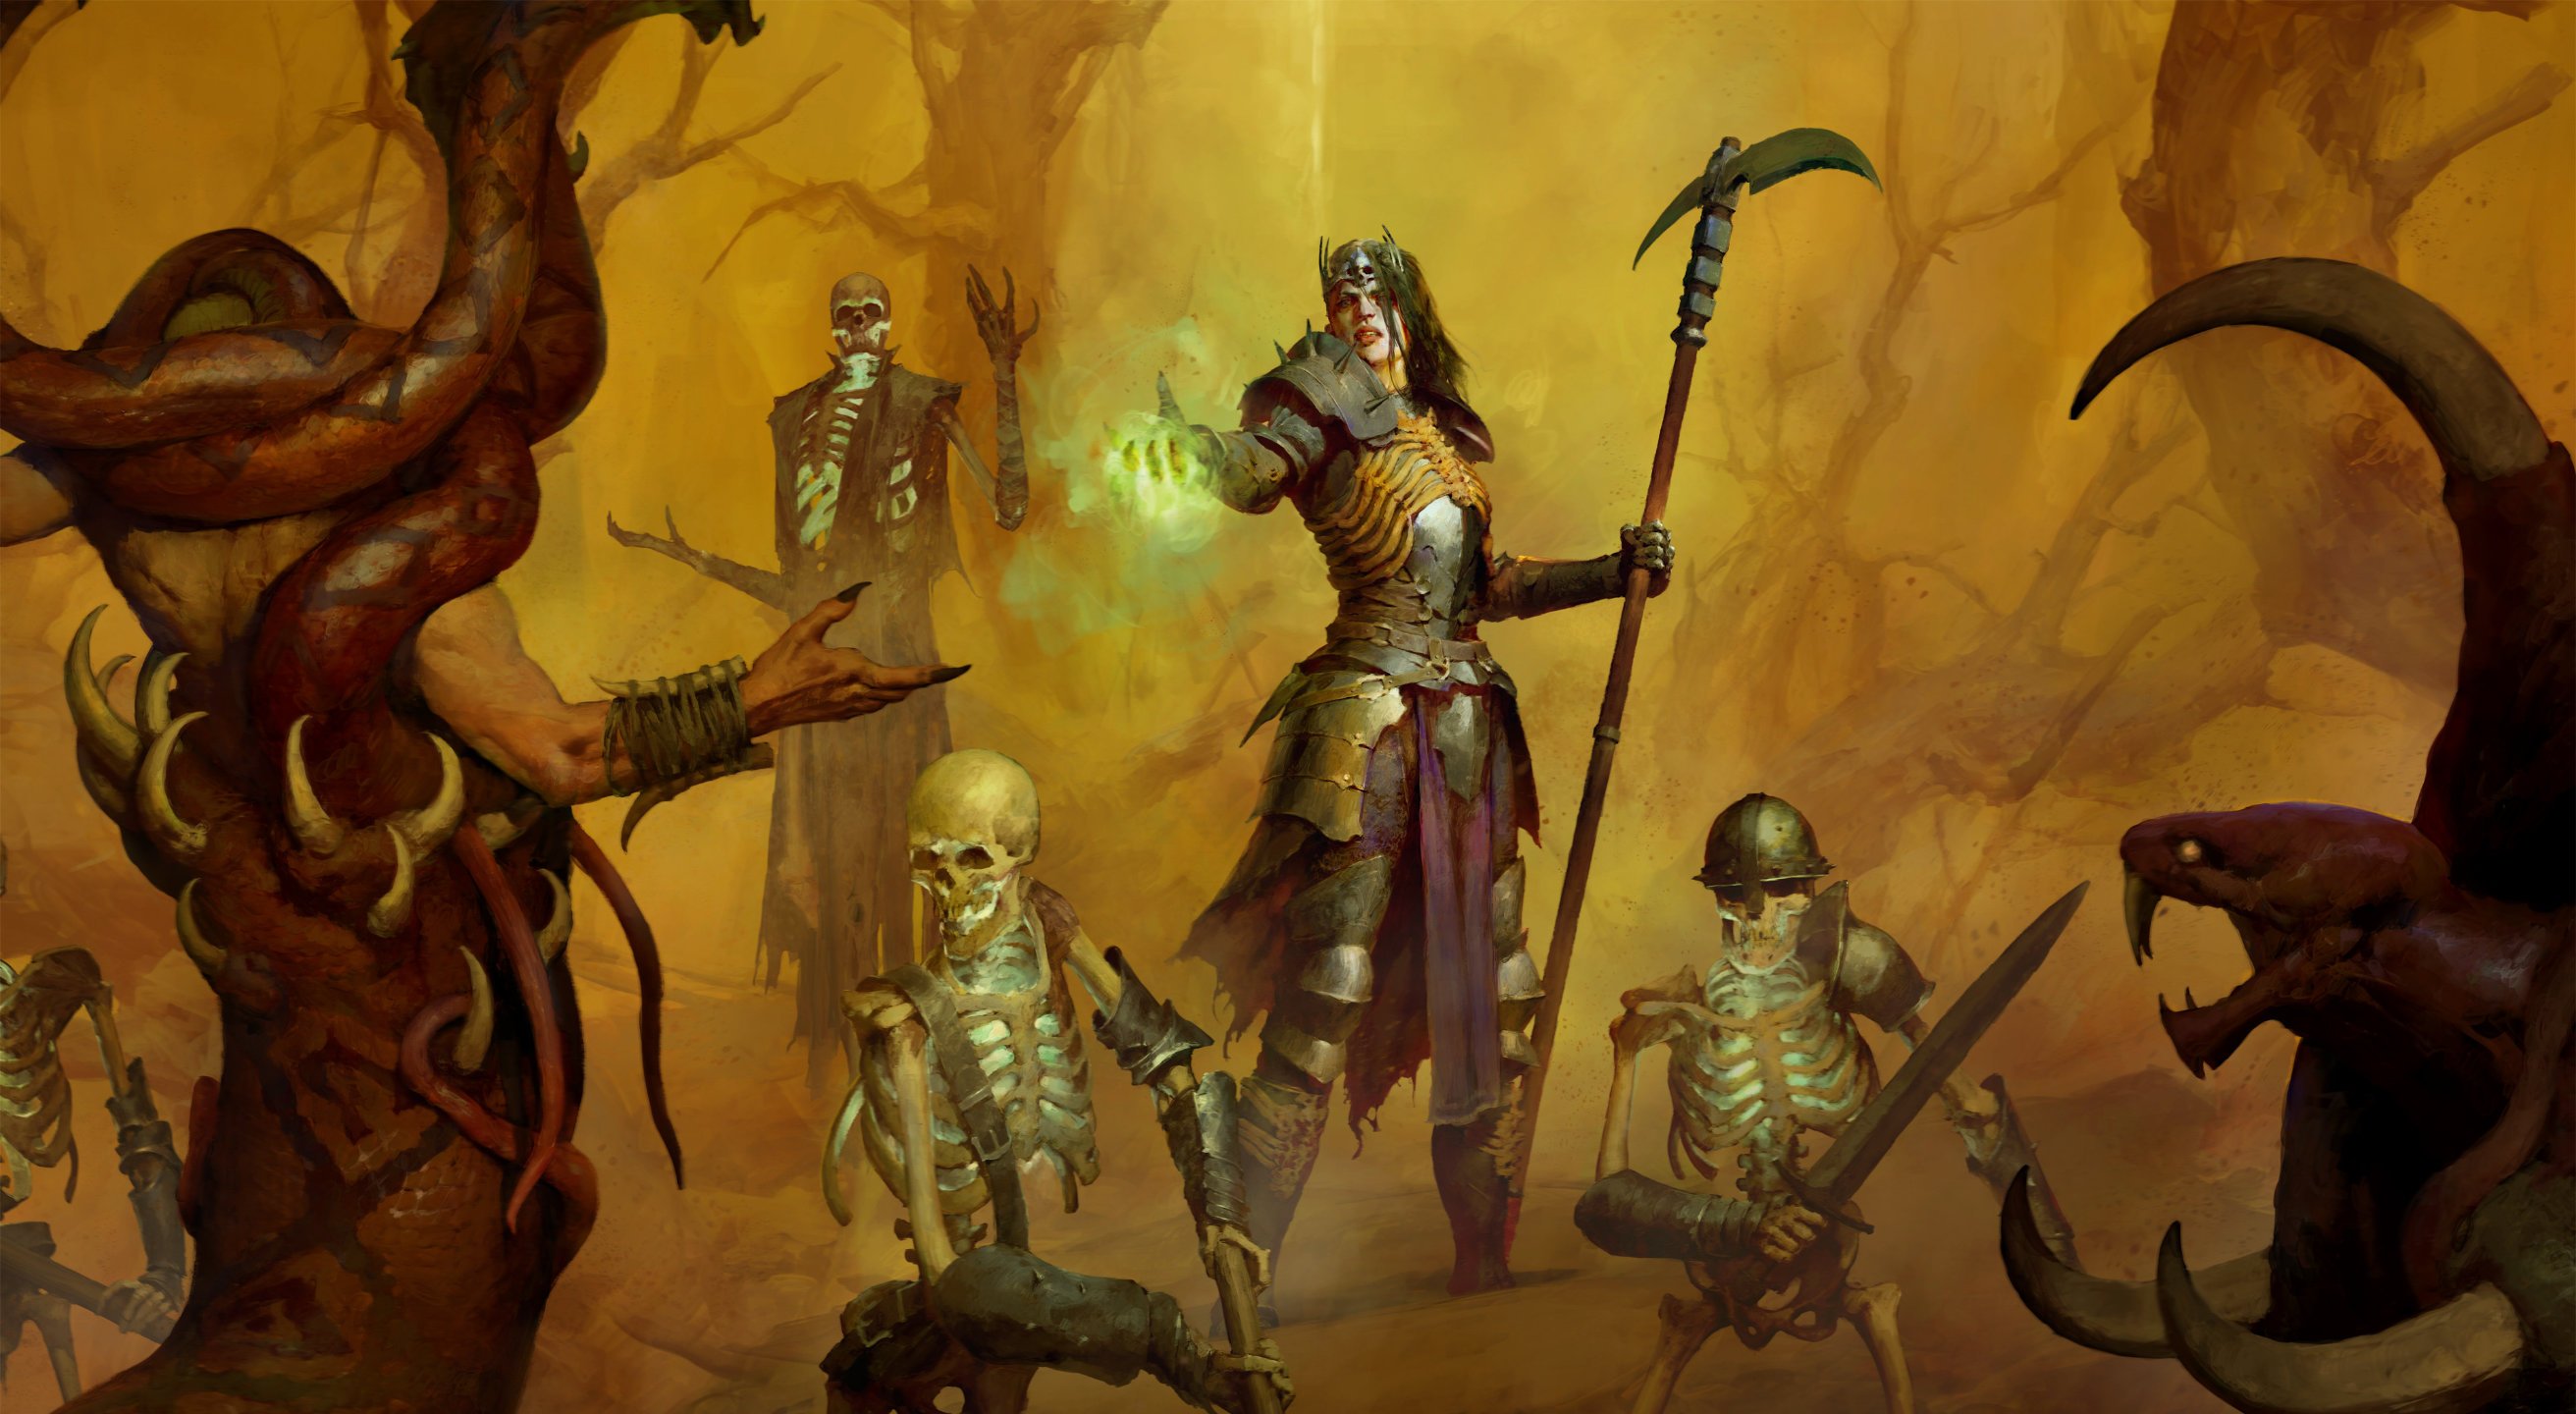


Build Introduction
This guide is a collaboration between GhazzyTV and community member Garm Z. The ![]() Blood Lance build is expected to underperform in Season 9, but still be fairly viable. Extreme tankiness from huge life pool and virtually endless barrier come at a cost of clunky set-up playstyle. Recent buffs to single target damage happened at cost of area of effect damage scaling and propagation.
Blood Lance build is expected to underperform in Season 9, but still be fairly viable. Extreme tankiness from huge life pool and virtually endless barrier come at a cost of clunky set-up playstyle. Recent buffs to single target damage happened at cost of area of effect damage scaling and propagation.
Have questions or feedback on the guide? Join the livestream and ask me!
To see how this build compares to the other builds on our site, you can check out our build tier lists.
Strengths and Weaknesses
- Very tanky
- Consistent performance
- Easy to gear
- Subpar single target damage
- Clunky set-up playstyle
Build Requirements
 Aspect of Gore Quills
Quick Navigation
Want to skip ahead? Use the table below to jump to the sections you are looking for.
Skill Bar and Skill Tree Points
Follow the points allocated in the Skill Tree above for the complete 71-point build. The additional 10 skill points are completed using the Renown system.
Necromancer Class Mechanic – Book of the Dead
The Blood Lance Necromancer is designed to be able to take hits from enemies consistently. Using minions with this playstyle is a waste and can cause problems when you want to use  Blood Lance if enemies are scattered across your screen, hitting your minions rather than moving towards you. Therefore, we will be sacrificing all of them.
- Melee Skeletons: Defenders [Sacrifice] – Resistance to All Elements.
- Mage Skeletons: Bone [Sacrifice] – Increased Overpower damage.
- Golem: Iron [Sacrifice] – Increased Critical Strike Damage.
Gear, Stats, Gems, and Runes
The following sections cover the important systems that are essential to improving the power of your character in the endgame of Diablo 4.
Legendary Aspects
Each aspect is listed with its matching gear slot. Do your best to keep each aspect in the assigned slot. Additionally, if you are trying to farm a specific item, we recommend using your Obols to target farm them! Other recommendations for Legendary Aspect farming would be to do the Seasonal mechanic and to some extent you can farm them in Helltides as well.
| Gear Slot | Gems | Aspect / Unique | Legendary Aspect / Unique Power |
|---|---|---|---|
| Helm |  Aspect of Hardened Bones Aspect of Hardened Bones | You gain 10-30% increased damage reduction. | |
| Chest | You are Blood Lanced, and when Blood Lance would deal damage to you, it instead Fortifies you for 1-2% of your Maximum Life and has a 5% chance to form a Blood Orb. | ||
| Gloves | n/a | Aspect of Gore Quills | Casting Blood Lance will consume Blood Orbs to also conjure lances from them. Each additional Blood Lance deals 20-50% of normal damage and prioritizes targeting un-lanced enemies. |
| Pants | You deal 20-50% increased Critical Strike Damage to enemies affected by your Curses. | ||
| Boots | n/a |  Aspect of the Cursed Aura Aspect of the Cursed Aura | A dark aura surrounds you, inflicint Decrepify and Iron Maiden on enemies who touch it. Curses inflicted this way spread to surrounding targets every 0.3-2.5 seconds and last 4 seconds outside of the aura. |
| Weapon 1H (Mace) | Aspect of Grasping Veins | Gain #% Increased Critical Strike Chance for 6 seconds when you cast Corpse Tendrils. You deal x#% bonus Critical Strike Damage to enemies for 6 seconds after they are damaged by Corpse Tendrils. | |
| Off-hand (Focus) |  Aspect of the Great Feast Aspect of the Great Feast | If you have no active Minions, you gain x#% increased damage and you lose 7 Essence per second. | |
| Amulet (50% Scaling) | Blood Seeker’s Aspect | Blood Lance deals X% increased damage to its primary target per lanced enemy. | |
| Ring | Sacrificial Aspect | Your Sacrifice bonuses are increased by X%. | |
| Ring | Conceited Aspect | Deal x#% increased damage while you have a Barrier active. |
Curious how this build compares to other endgame options? Take a look at our Endgame Build Tier List.
Stat Priority and Tempering Affixes
Below are the affixes to prioritize on gear. Each line of affixes is listed in order of importance. Tempering Manuals and their recommended affixes are provided in the second column, and the bolded affixes are the most important targets for Masterworking upgrades. The main priority for Greater Affixes are marked with a “*”, secondary would be anything providing Intelligence or Life. Be sure to check our Tempering and Masterworking guides for more details about these topics.
| Slot | Targeted Gear Affixes | Tempering Affixes |
|---|---|---|
| Helm | * 1. Cooldown Reduction 2. Maximum Life 3. Intelligence | |
| Chest | * 1. Maximum Life 2. + Ranks to Blood Lance | n/a |
| Gloves | * 1. Ranks to Blood Lance 2. Critical Strike Chance 3. Attack Speed | |
| Pants | * 1. Critical Strike Chance | n/a |
| Boots | * 1. Armor 2. Maximum Life 3. Essence per Second | |
| Amulet | * 1. Ranks to Tides of Blood 2. % Intelligence 3. Critical Strike Chance Note: With high end-gear you can replace Crit Chance for Ranks to Coalesced Blood | |
| Ring | 1. Maximum Life 2. Intelligence * 3. Attack Speed | |
| Ring | 1. Lucky Hit: #% Chance to make enemies vulnerable 2. Maximum Life * 3. Attack Speed | |
| 1H-Weapon (Mace) | 1. Lucky Hit: #% Chance to Restore #% Primary Resource 2. Maximum Life * 3. Intelligence | |
| Off-hand (Focus) | 1. Maximum Life * 2. Critical Strike Chance 3. Intelligence |
Keep in mind that the maximum Resistance is 70% by default for each element and can be increased to 85% by various sources. Furthermore, Unique items cannot be tempered, only masterworked!
Make sure to achieve and maintain armor cap of 1,000 as soon as possible! For that purpose, helm or chest temporary tempering can be Total Armor %.
Uniques and Mythic Uniques
Below you will find information on Uniques and Mythic Uniques that are useful for this build. Moreover, if you are interested in target farming Mythic Uniques, check out our How to Farm Mythic Uniques guide.
Uniques
 Blood Moon Breeches – Provides great Critical Strike Damage scaling. This item can be target farmed from all Lair bosses.
 Mutilator Plate (Required) – Bread and butter for the build. This is how we make Blood Lance fortify us and create even more blood orbs. On top of this it will scale the damage output of our lances. You can target farm this from Beast in the Ice.
Mythic Uniques
The following Mythic Uniques provide great power scaling to the build.
 Ring of Starless Skies – Replaces Hungry Blood OR Grasping Veins aspect depending on personal preference. Greater Affix and Masterworking priority on this item will be Attack Speed.
 Heir of Perdition – Replaces your current helmet with GA and/or Masterworks on the + to your ranks. This will require you to lose movement speed temper on your boots in favor of % Total Armor instead. Greater Affix and Masterworking priority on this item will be + Ranks to Core Skill.
Gems and Runewords
See below for a more detailed explanation of the best Gems to socket into your gear for each category.
| Weapon Gems | Armor Gems | Jewelry Gems |
|---|---|---|
For increased Overpower Damage. | Recommended Runewords then For increased Intelligence. | Horadric Jewels as listed further below. |
Below you’ll find the recommended Runewords for this build.
| Runeword Combination | Effect |
| Gain 15 Offering. Lucky Hit: 100% when hitting a non-Healthy enemy. For 300 Offering. (Overflow: Increase duration) 1 second cooldown. Your next attack will cause your hits to be guaranteed Critical Strike and Overpower for 0.35 seconds. | |
| Gain 300 Offering by casting 5 skills then become exhausted for 3 seconds. For 300 Offering (Overflow: Increased Size) Cooldown: 1 second. Invoker the Sorcerer’s Mystical Frost Nova inflicting Freeze and Vulnerable onto enemies. |
![]() Cir +
Cir + ![]() Lum is a temporary Runeword that can help with Essence till you’re good without it, normally when you equip
Lum is a temporary Runeword that can help with Essence till you’re good without it, normally when you equip ![]() Ring of Starless Skies as an example. This will be replaced by your
Ring of Starless Skies as an example. This will be replaced by your ![]() Cir +
Cir + ![]() Thul Runeword.
Thul Runeword.
Paragon board
Below, you’ll find the entire end-game paragon board set-up for this build in detail!
Horadric Spells and Jewels (Season 9)
In Season 9, we will have access to Horadric Jewels and Horadric Spells, granting some absolutely crazy abilities that we’ll utilize to enhance our builds power. Below, you’ll find a list of the recommended powers we use for this build.
Horadric Spell
| Type | Power | Description |
| Catalyst | Lucky Hit: 20%. Passive: Manifest up to 5 Anomalies that emit particles which deal x% damage over 4 seconds. Active: Command your Anomalies to converge and implode, dealing x% damage per detonation. At Rank 10 while at 5 Anomalies, you are Unstoppable and the next implosion will deal double damage. | |
| Infusion | Your Spell Catalyst now deals Shadow and or Corrupting damage. Enemies hit by it deal x% reduced damage for 7 seconds. While equipped, your Shadow Damage Bonus is equal to that of your highest Damage Type Bonus. At Rank 5 it will deactivate enemy monster summoner effects for 5 seconds. | |
| Arcana | Your Catalyst gains a specialized Execute effect for non-Boss enemies with 20% or less Life. Bloody Charm will also execute non-boss enemies with Cosmic Anomaly implosions. Successful executions increase your Attack Speed by 20% for 8 seconds. | |
| Arcana | Invoking your Catalyst grants Unstoppable for 5 seconds whenever it activates. | |
| Arcana | Your Catalyst deactivates monster Damage Resistance Aura effects for 5 seconds, but you take 15% more stacking damage for the same time. |
Horadric Jewels
Use these Jewels over regular gems in your jewelry slots to further enhance the build:
 Idol From Below
- Willbreaker
 Horadric Crest
Mercenaries
During the Vessel of Hatred campaign, you will unlock Mercenaries to assist you. While you can choose freely early on, we recommend Raheir as your main merc, and Varyana as a Reinforcement once you reach endgame.
For the reinforcement, stick with Varyana, utilizing her Bloodthirst skill being cast when the player casts Blood Lance.
Build Mechanics
Rotation and Playstyle
The highest priority for this build to excel is to make sure all enemies are cursed by ![]() Decrepify via Aspect of the Cursed Aura. Start by casting
Decrepify via Aspect of the Cursed Aura. Start by casting ![]() Blood Lance or if you want pop
Blood Lance or if you want pop ![]() Blood Mist for 1 second to generate a corpse, follow this up with
Blood Mist for 1 second to generate a corpse, follow this up with ![]() Corpse Tendrils to group enemies up. Once all enemies are grouped up we will use
Corpse Tendrils to group enemies up. Once all enemies are grouped up we will use ![]() Blight and
Blight and ![]() Bone Prison to ramp up damage scaling. At this point all you want to do is spam
Bone Prison to ramp up damage scaling. At this point all you want to do is spam ![]() Blood Lance BUT make sure you’re somewhat close to enemies because of the propagation from the Lance and Aspect of Hungry Blood distance will not function optimally otherwise. Besides this we’ll want to make sure you have
Blood Lance BUT make sure you’re somewhat close to enemies because of the propagation from the Lance and Aspect of Hungry Blood distance will not function optimally otherwise. Besides this we’ll want to make sure you have ![]() Soulrift up at all times.
Soulrift up at all times.
In case of dangerous situations we have a panic button which helps when you’re crowd controlled: You’ll simply use ![]() Blood Mist to get out of harms way and this will generate a corpse on the ground so you can follow it up with a
Blood Mist to get out of harms way and this will generate a corpse on the ground so you can follow it up with a ![]() Corpse Tendrils to regain control over the situation!
Corpse Tendrils to regain control over the situation!
Which Elixirs Should You Use?
Visit the Alchemist and craft an Elixir providing any Resistance you need most, or the ![]() Elixir of Fortitude II, a cheaper option is
Elixir of Fortitude II, a cheaper option is ![]() Elixir of Destruction II or
Elixir of Destruction II or ![]() Elixir of Resourcefulness to help with Essence management. Some Elixirs cannot be crafted and only drop from things like Helltides or Nightmare Dungeons. Additionally, make sure to keep your health potion upgraded!
Elixir of Resourcefulness to help with Essence management. Some Elixirs cannot be crafted and only drop from things like Helltides or Nightmare Dungeons. Additionally, make sure to keep your health potion upgraded!
Season 9 Updates
For a full overview of what is new in Season 9, please take a look at our comprehensive season hub. Additionally, Season 9 isn’t changing anything notably for the build outside of providing the new Horadric powers.
- Generic nerfs across the board are making the build not perform as well as it did in the previous season.
Obol Gambling
Obol gambling is a great way to potentially find item upgrades or items missing from your build. Check out the new tool guide from Icy Veins for gambling Obols in the link below:
Obol Gambling Optimization Tool GuideChangelog
- June 29th, 2025: Guide updated for Season 9.
- May 18th, 2025: Focus Aspect and 1 Runeword change.
- May 5th, 2025: Optimized and updated post launch for Season 8.
- April 25th, 2025: Guide updated for Season 8.
- January 19th, 2025: Guide updated for Season 7.
- October 12th, 2024: New Paragon tool added.
- October 7th, 2024: Paragon board added.
- October 2nd, 2024: Guide updated for Season 6.
- August 6, 2024: Guide updated for Season 5, Infernal Hordes.
- May 12th, 2024: Guide updated for Season 4 Loot Reborn.
- January 22nd, 2024: Guide updated for Season 3 Season of the Construct.
- November 3rd, 2023: Optimized Paragon Board and added end-game version.
- October 15th, 2023: Guide updated for Season 2 Season of Blood, Patch 1.2.
- August 7th, 2023: Guide added.
