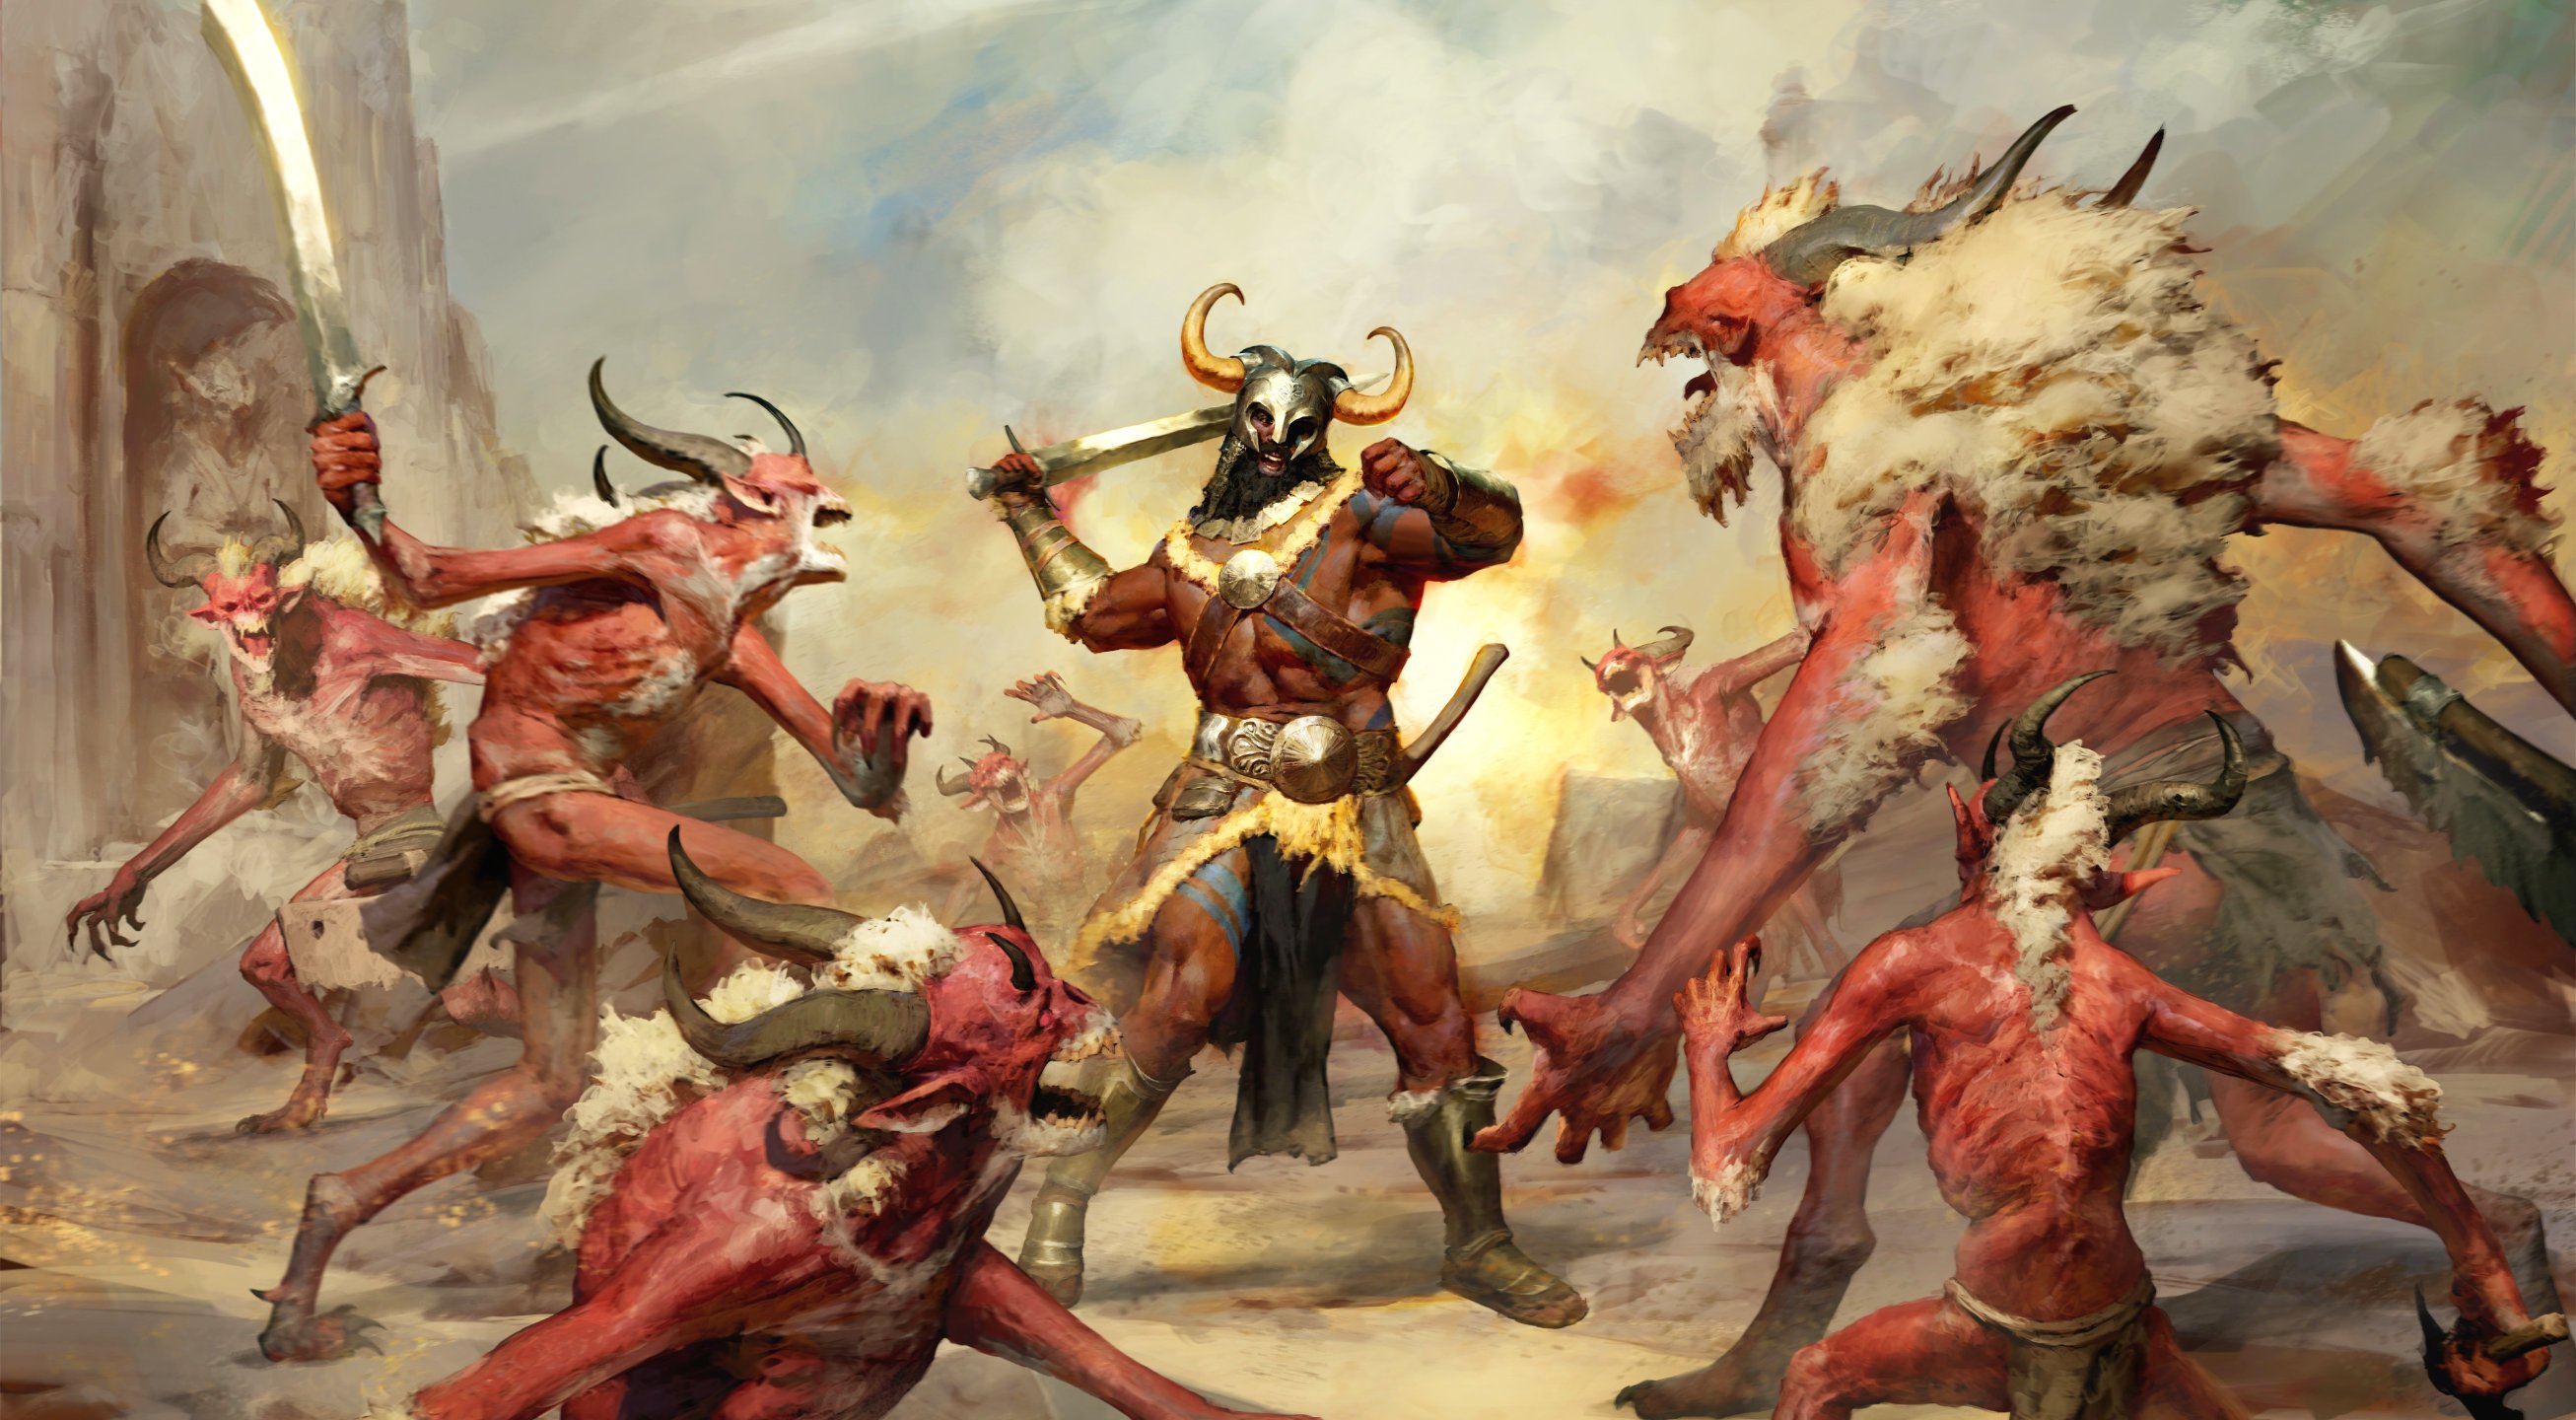


Build Introduction
This is your comprehensive guide to building the ![]() Death Blow Barbarian! A powerful execution-style skill that deals huge damage, costs no resources, and brings down any demon in your path. This build requires a bit of setup to get the most out of your
Death Blow Barbarian! A powerful execution-style skill that deals huge damage, costs no resources, and brings down any demon in your path. This build requires a bit of setup to get the most out of your ![]() Death Blow, but brings the reward of extremely high damage, and the ability to nearly one-shot most enemies, even bosses, that dare stand in your way.
Death Blow, but brings the reward of extremely high damage, and the ability to nearly one-shot most enemies, even bosses, that dare stand in your way.
Strengths and Weaknesses
- Amazing Single Target DPS
- Spammable Death Blow!
- Big Critical hits
- Has trouble with large packs of enemies
- Requires specific uniques for full power
- Positioning is key
Build Requirements
 Aspect of Limitless Rage
Quick Navigation
Skill Bar and Skill Points
 Death Blow
  Frenzy
  Rallying Cry
  Call of the Ancients
  Steel Grasp
  Challenging Shout
 Follow the points allocated in the image above for the complete build. The additional 12 skill points are completed using the Renown system.
Barbarian Class Mechanic – The Arsenal System
The Barbarian can wield four weapons simultaneously as well as choose a weapon expertise to use as their Technique allowing them to gain that weapon’s bonus even if they’re wielding another weapon type. Finally, the Barbarian can assign its skills to use different weapon types shuffling between Two-Handed Bludgeoning Weapons, Two-Handed Slashing Weapons, and Dual-Wield Weapons.
We want to assign ![]() Death Blow to the Dual-Wield Weapons we have so we can benefit from the damage bonus offered by
Death Blow to the Dual-Wield Weapons we have so we can benefit from the damage bonus offered by ![]() Ramaladni’s Magnum Opus.
Ramaladni’s Magnum Opus. ![]() Frenzy requires Dual-Wield Weapons so we cannot assign it and it will default to them which is great for us as it will have much faster attack speed allowing us to stack up its buff more quickly to dish out devastating death blows!
Frenzy requires Dual-Wield Weapons so we cannot assign it and it will default to them which is great for us as it will have much faster attack speed allowing us to stack up its buff more quickly to dish out devastating death blows!
We will use Two-Handed Axe for our Technique slot for its bonus to Vulnerable enemies.
Gear, Stats, Gems, and Runes
The following sections will cover all systems that are critical if you want to improve the power of your character and move towards the highest difficulties in the endgame of Diablo 4.
Legendary Aspects
Below you will find all of the best-in-slot Aspects found on Legendary items that are important for this build. Remember that all Legendary powers can be added into your Codex of Power once you salvage or extract the item. You can still find some aspects through dungeons though they will always be at the minimum power level. To get the most out of this system, combine these Aspects with the right stats.
| Slot | Gems | Legendary Aspect / Unique | Aspect / Unique Effect |
| Helm |  Relentless Berserker’s Aspect Relentless Berserker’s Aspect | – Lucky Hit: Damaging an enemy with a Core Skill has up to a [15-35%] chance to extend the duration of Berserking by 2 seconds. Double this duration if it was a Critical Strike | |
| Chest |  Aspect of Might Aspect of Might | – Basic Skills grant 20% damage reduction for [2-10] seconds. | |
| Gloves | N/A | Edgemaster’s Aspect | – Skills deal up to [5-20%] increased damage based on your available Primary Resource when you cast, receiving the maximum benefit while you have full primary resource |
| Pants | – You deal [10-20%] increased damage while Unstoppable and for 5 seconds after. When you become Unstoppable, gain 50 of your Primary Resource | ||
| Boots | N/A | – Casting a Skill has a [40-60%] chance to cast a Non-Mobility, Non-Ultimate skill that is currently on Cooldown. Can only occur once every 8 seconds. | |
| Amulet | – Increase Frenzy’s maximum stacks by 2. While at maximum stacks, you deal [15-30%] increased damage and your other skills gain [35-55%] increased attack speed | ||
| Ring 1 | Aspect of Inner Calm | – You deal x[5-13%] increased damage. Triple this bonus after standing still for 3 seconds. | |
| Ring 2 |  Bold Chieftain’s Aspect Bold Chieftain’s Aspect | – Whenever you cast a Shout Skill, its active Cooldown is reduced by [10-30%] per nearby enemy, up to a maximum of 50% | |
| 2-Handed Bludgeoning Weapon | OR | – | |
| 2-Handed Slashing Weapon | OR | Aspect of Limitless Rage | – Each point of Fury you generate while at maximum fury grants your next Core Skill within 5 seconds x[1-3%] increased damage, up to 15 times. |
| Dual Wield Weapon 1 | – Your Weapon Mastery skills are now also Core Skills that have 100% Cooldown Reduction but cost Fury, dealing [50-70%] of normal damage. | ||
| Dual Wield Weapon 2 | – Skills using this weapon deal [0.2-0.5%] increased damage per point of Fury you have, but you lose 10 Fury Per Second. |
To see how this build compares to others on our site, you can check out our Endgame Builds Tier List.
Stat Priority and Tempering Affixes
Below are the affixes to prioritize on gear. Each line of affixes is listed in order of importance. Tempering Manuals and their recommended affixes are provided in the second column, and the bolded yellow affixes are the most important targets for Masterworking upgrades. Be sure to check our Tempering and Masterworking guides for more details about these topics.
| Slot | Gear Affixes | Tempering Affixes |
| Helm | 1. Cooldown Reduction 2. Strength 3. Ranks to | 1. Maximum Life 2. Frenzy Duration |
| Chest | 1. Strength 2. Armor 3. Needed Resistance | 1. Challenging Shout Cooldown Reduction 2. Frenzy Duration |
| Gloves | 1. Strength 2. Maximum Life 3. Ranks to Core Skills | 1. Weapon Mastery Damage 2. Frenzy Duration |
| Pants | 1. Strength 2. Maximum Life 3. Needed Resistance | 1. Challenging Shout Cooldown Reduction 2. Frenzy Duration |
| Boots | 1. Movement Speed 2. Strength 3. Fury Per Second | 1. Movement Speed 2. Frenzy Duration |
| Amulet | 1. Cooldown Reduction 2. Maximum Life 3. Fury On Kill | 1. Weapon Mastery Damage 2. Call of the Ancients Cooldown Reduction |
| Rings | 1. Strength 2. Attack Speed 3. Fury On Kill | 1. Weapon Mastery Damage 2. Call of the Ancients Cooldown Reduction |
| 2-Handed Bludgeoning Weapon | 1. Strength 2. Critical Strike Damage 3. Maximum Life | 1. Weapon Mastery Damage 2. Chance for Death Blow to deal double damage |
| 2-Handed Slashing Weapon | 1. Strength 2. Critical Strike Damage 3. Maximum Life | 1. Weapon Mastery Damage 2. Chance for Death Blow to deal double damage |
| Dual-Wield Weapons | 1. Strength 2. Critical Strike Damage 3. Maximum Life | 1. Weapon Mastery Damage 2. Chance for Frenzy to Hit Twice |
Uniques and Mythic Uniques
Below you will find information on Uniques and Mythic Uniques that are useful for this build. Moreover, if you are interested in target farming Mythic Uniques, check out our How to Farm Mythic Uniques guide.
Unique Items
Below, you will find the unique items useful to this build.
 The Third Blade – A unique introduced in Season 5. This makes
  Death Blow spammable by making it cost Fury instead of having a cooldown. This finally allows us to have a true Death Blow build viable in the end-game. A must have for this setup.
 Ramaladni’s Magnum Opus – A powerful one-handed sword that has been very powerful throughout the lifespan of Diablo 4. Though it comes with a bigger downside, 10 fury lost per second instead of only 2, the upsides are very much worth utilizing this sword.
 Tibault’s Will – Despite the nerfs in the previous seasons these pants remain powerful with a large bonus to our damage. Additionally, they come with a damage reduction affix.
 Overkill – A core item for this build. Almost a must have. It adds a shockwave to our Death Blow as well as providing ranks to it and tons of damage allowing us to reset it much easier.
 Yen’s Blessing – These boots, added in Season 4, are very powerful for this particular build. Every cast of Frenzy and Deathblow will have a high chance to trigger some of our other cooldowns allowing us even more casts of everything but our ultimate skill.
  Battle Trance – This unique neck has been the butt of many jokes since launch for how bad it has historically been. With the unique revamp in Season 5 and the expansion features coming in Vessel of Hatred, now is this item’s time to shine. Ramping our Frenzy stacks lets us attack even faster, granting even more attack speed to Deathblow through its secondary effect and a large multiplier all on a single item now with better stats. Truly a must have for any Frenzy build.
Mythic Uniques
Here you will find the mythic unique items that are useful to this build. If a mythic unique is NOT listed here, it is not useful to this build and does not provide any meaningful increase or effect.
 Heir of Perdition – This powerful new Mythic helm provides massive bonuses and a 60% damage multiplier that can get higher if you’re in groups with someone else using this item. Even for solo content this helm is a monster of an item that will greatly increase your damage. If you’re lucky enough to snag one, equip it.
 Tyrael’s Might – The most defensive item in the game. A chest that solves resistances for you and grants a large damage reduction on top of it all. If you get it, equip it. No question the best chest in the game.
 Ring of Starless Skies – A very powerful ring that would normally not be included in a Deathblow build, however thanks to The Third Blade, Deathblow costs resources and that means it both triggers and is reduced by Starless Skies and benefits from the damage boost. This will solve most resources issues by itself. If you’re fortunate enough to get one, drop Bold Chieftain’s Aspect.
 Harlequin Crest – The infamous “shako”, a notoriously powerful helm. This helm has lost some power in Vessel of Hatred not through any fault of its own, only that newer options have come along. This item is still amazing, and if you manage to get one before getting Heir of Perdition you should definitely still wear it for all of its powerful bonuses to skills, cooldown reduction, and damage reduction.
Gems and Runewords
Listed below are the best gems to socket into gear for each slot type.
Gems
| Weapon Gems | Armor Gems | Jewelry Gems |
| Horadric Jewel OR |
For your jewelry, it may be necessary to change the ![]() Grand Diamond for another gem of a specific type such as
Grand Diamond for another gem of a specific type such as ![]() Grand Sapphire to ensure all of your resistances are capped at 70%. For more information about Horadric Jewels, see our Season 9 section below.
Grand Sapphire to ensure all of your resistances are capped at 70%. For more information about Horadric Jewels, see our Season 9 section below.
Runes
Runewords return from Diablo 2 in Vessel of Hatred! You are limited to two Runewords across your gear and it requires two sockets in the same item. So this limits creating Runewords by combining two Runes to either Helm, Chest, Pants, or Two-Handed Weapons. We generally recommend them in both of your Two-Handed Weapons for Barbarian. Let’s jump in.
| Runes | Rune Effects |
| Gain 25 Offering; Stand still fighting for 0.3 seconds | |
| Requires 100 Offering; Cooldown – 5 seconds, Gain +1 to all Skills for 10 seconds | |
| Gain 25 Offering; Cast a Non-Channeled Core Skill | |
| Requires 500 Offering; Cooldown – 2 seconds, Evoke the Barbarian’s |
Paragon Board
We recommend using the following Legendary nodes and Rare Glyphs to truly take this build into the endgame. Note that each Rare Glyph’s information and radius listed below is for the Level 100 version. As a reminder, glyph’s gain their maximum radius at level 46, and their legendary bonus at level 45. Let’s take a look!
Horadric Spell (Season 9)
Season 9 brings a new complex mechanic that modifies your skills by attaching an ancient Horadric Catalyst to one of them, which you can then modify further with spells and infusions, causing some very potent combos. For this build, we recommend the following setup:
| Type | Power | Description |
| Catalyst | Awaken an Oracular Rune that pulls in all surrounding enemies. A torrent of stars follow that randomly strike the area 20 times for 1288% damage each. At Rank 10+: Stars periodically fall around you and are guaranteed to crash around a nearby enemy for the same damage | |
| Infusion | Your Catalyst now deals Fire and/or Burning damage. It destroys enemy structures and has a 10% chance to ignite the ground beneath enemies dealing 1215% burning damage over 5 seconds. While equipped, your Fire Damage Bonus is equal to that of your highest damage type bonus. Rank 5+: Deactivates monster Chilling Winds effects for 5 seconds. | |
| Arcana | Your Catalyst applies Vulnerable for 8 seconds | |
| Arcana | Your Catalyst deactivates monster damage resistance aura effects for 5 seconds, but you take 15% more damage for the same duration | |
| Arcana | Your Catalyst gains a specialized Execute effect for Non-Boss enemies with 20% or less life. Bloody Charm creates the following effect: (Celestial Surge): The Moon’s impact executes non-boss enemies with 20% or less life. Successful Executions reduce your cooldowns by 2 seconds |
Assign your Catalyst to ![]() Death Blow
Death Blow
Horadric Jewels
Additionally, Season 9 brings back new special gems for your Amulets and Rings called Horadric Jewels. We recommend the following gems for this build:
 Idol From Below – You gain x6% Primary Stat, x6% Maximum Life, and are always Unhindered. However, you will be hunted in Sanctuary’s darkest places by Jewel Guardians who were entombed to protect this relic
 The Starflux – Your Catalysts deal x100% more damage. However, you lose control over Horadric Spellcraft, causing your Catalysts to inherit infusions randomly
 Luminate Eye – Your Catalytic Skill gains +25% Cooldown Reduction
Mercenaries
As you play through the campaign in Vessel of Hatred, you will unlock various NPC Mercenaries who can join you on your quest to slay demons. Each Mercenary has their own small talent tree that will give them bonuses and skills to help you. Additionally, you can assign a Mercenary that you don’t take with you as a reinforcement to jump in when you activate certain skills. Let’s take a look at how we want to set this up for this build.
We hire Varyana, the Berserker Crone:
- Core Skill:
 Cleave
 - Core Skill Passive:
 Hysteria
 - Iconic Skill:
 Bloodthirst
 - Iconic Skill Passive:
 Bloodlust
Our Reinforcement Mercenary will be Raheir, the Shieldbearer:
Build Mechanics
Rotation and Playstyle
This is an attack speed based build to get the most out of ![]() Death Blow in order to cut down demons in our path. Let’s review our skills and where we’re using them.
Death Blow in order to cut down demons in our path. Let’s review our skills and where we’re using them.
- Use
 Rallying Cry to generate resources and give unstoppable.
 - Spam
 Frenzy to generate resources and stack up its buff for all the benefits it provides.
 - Spam Death Blow as often as possible with our new Third Blade.
- Use
 Challenging Shout to survive and when you need the defense in any pinch.
 - Cast
 Steel Grasp to group up enemies to Death Blow them down.
 - Use
 Call of the Ancients on cooldown for all of its benefits and resource generation, especially on bosses.
Runeword Synergy
Let’s take a moment to review our runes and how they interact with this build
 Lith grants 25 offering every 0.3 seconds we spend standing still while fighting, lining up enemies for big Death Blow should satisfy this once we create some big packs.
 Vex requires 100 offering meaning we have to stand still for 1.2 seconds when paired with Lith and once triggered gives us +1 rank to all skills further empowering our Death Blow
 Tam grants 25 offering every time we cast a non-channeled core skill. This means while wearing The Third Blade Death Blow counts as a Core Skill and will trigger this rune on every swing
 Ohm requires 600 offering, which is 24 casts of Death Blow and since we’re a death blow build we’ll be spamming this a lot. We’ll trigger the Barbarian skill
  War Cry allowing us to benefit from this shout as well as maintain our build setup with other skills.
Which Elixir Should You Use?
Visit the Alchemist in any main town to craft helpful Elixirs that increase stats, and experience gain for 30 minutes. Make sure to forage plants and pick up the necessary crafting materials during your adventures; they randomly spawn around the world. Use ![]() Elixir of Advantage at the highest level you can craft due to its increase to your attack speed.
Elixir of Advantage at the highest level you can craft due to its increase to your attack speed.
Return to the Alchemist again every 5 to 10 levels, to upgrade your potion. The extra healing is essential to survival.
Season 9 Updates
For a comprehensive look at what’s new in Season 9, please check out our Season Hub
Here is a quick list of the changes this season that are relevant to this build:
- Frenzy damage increased from 30% to 70%
- Overpower now deals significantly reduced damage per Overpower formula change
Obol Gambling
A final point on acquiring gear is using your Obols to target farm specific slots instead of randomly spending them on random drops. Similar to Kadala in Diablo 3, you can use Obol vendors in town to try and get what you’re missing. With the expansion when a level 60 Character spends Obols, all gear from that vendor will be 750 item power, the highest non-ancestral power allowing you to fill out gear with the affixes or Legendary Aspects you need while also having a small chance to grant Ancestral item power 800 gear.
Check out our Obol Gambling Tool Guide HERE.
Changelog
- June 28th 2025: Updated for Season 9
- April 25th 2025: Reformatted and updated for Season 8
- March 31st 2025: Skill tree recommendations updated
- January 19th 2025: Tooltips and Seasonal section updated for Season 7
- January 15th 2025: Build updated for Season 7
- October 24th 2024: Paragon boards updated for post-launch boards
- October 3rd, 2024: Build updated for Season 6 and Vessel of Hatred
- August 4th, 2024: Guide updated for season 5.
- May 9th 2024: Ownership of page transferred, guide restructured, updated for season 4.
- January 30th 2024: Marshal Glyph changes.
- January 21st 2024: Season 3 speculative changes.
- November 13th, 2023: Build Revamp
- October 16th 2023: Build adjusted to prepare for Season 2 launch.
- August 12th 2023: Updated Build for Season 1.
- August 8th 2023: Added notes about Patch 1.1.1.
- August 5th 2023: Malignant Hearts and Paragon updated for clarity.
- July 19th, 2023: Season of the Malignant section added.
