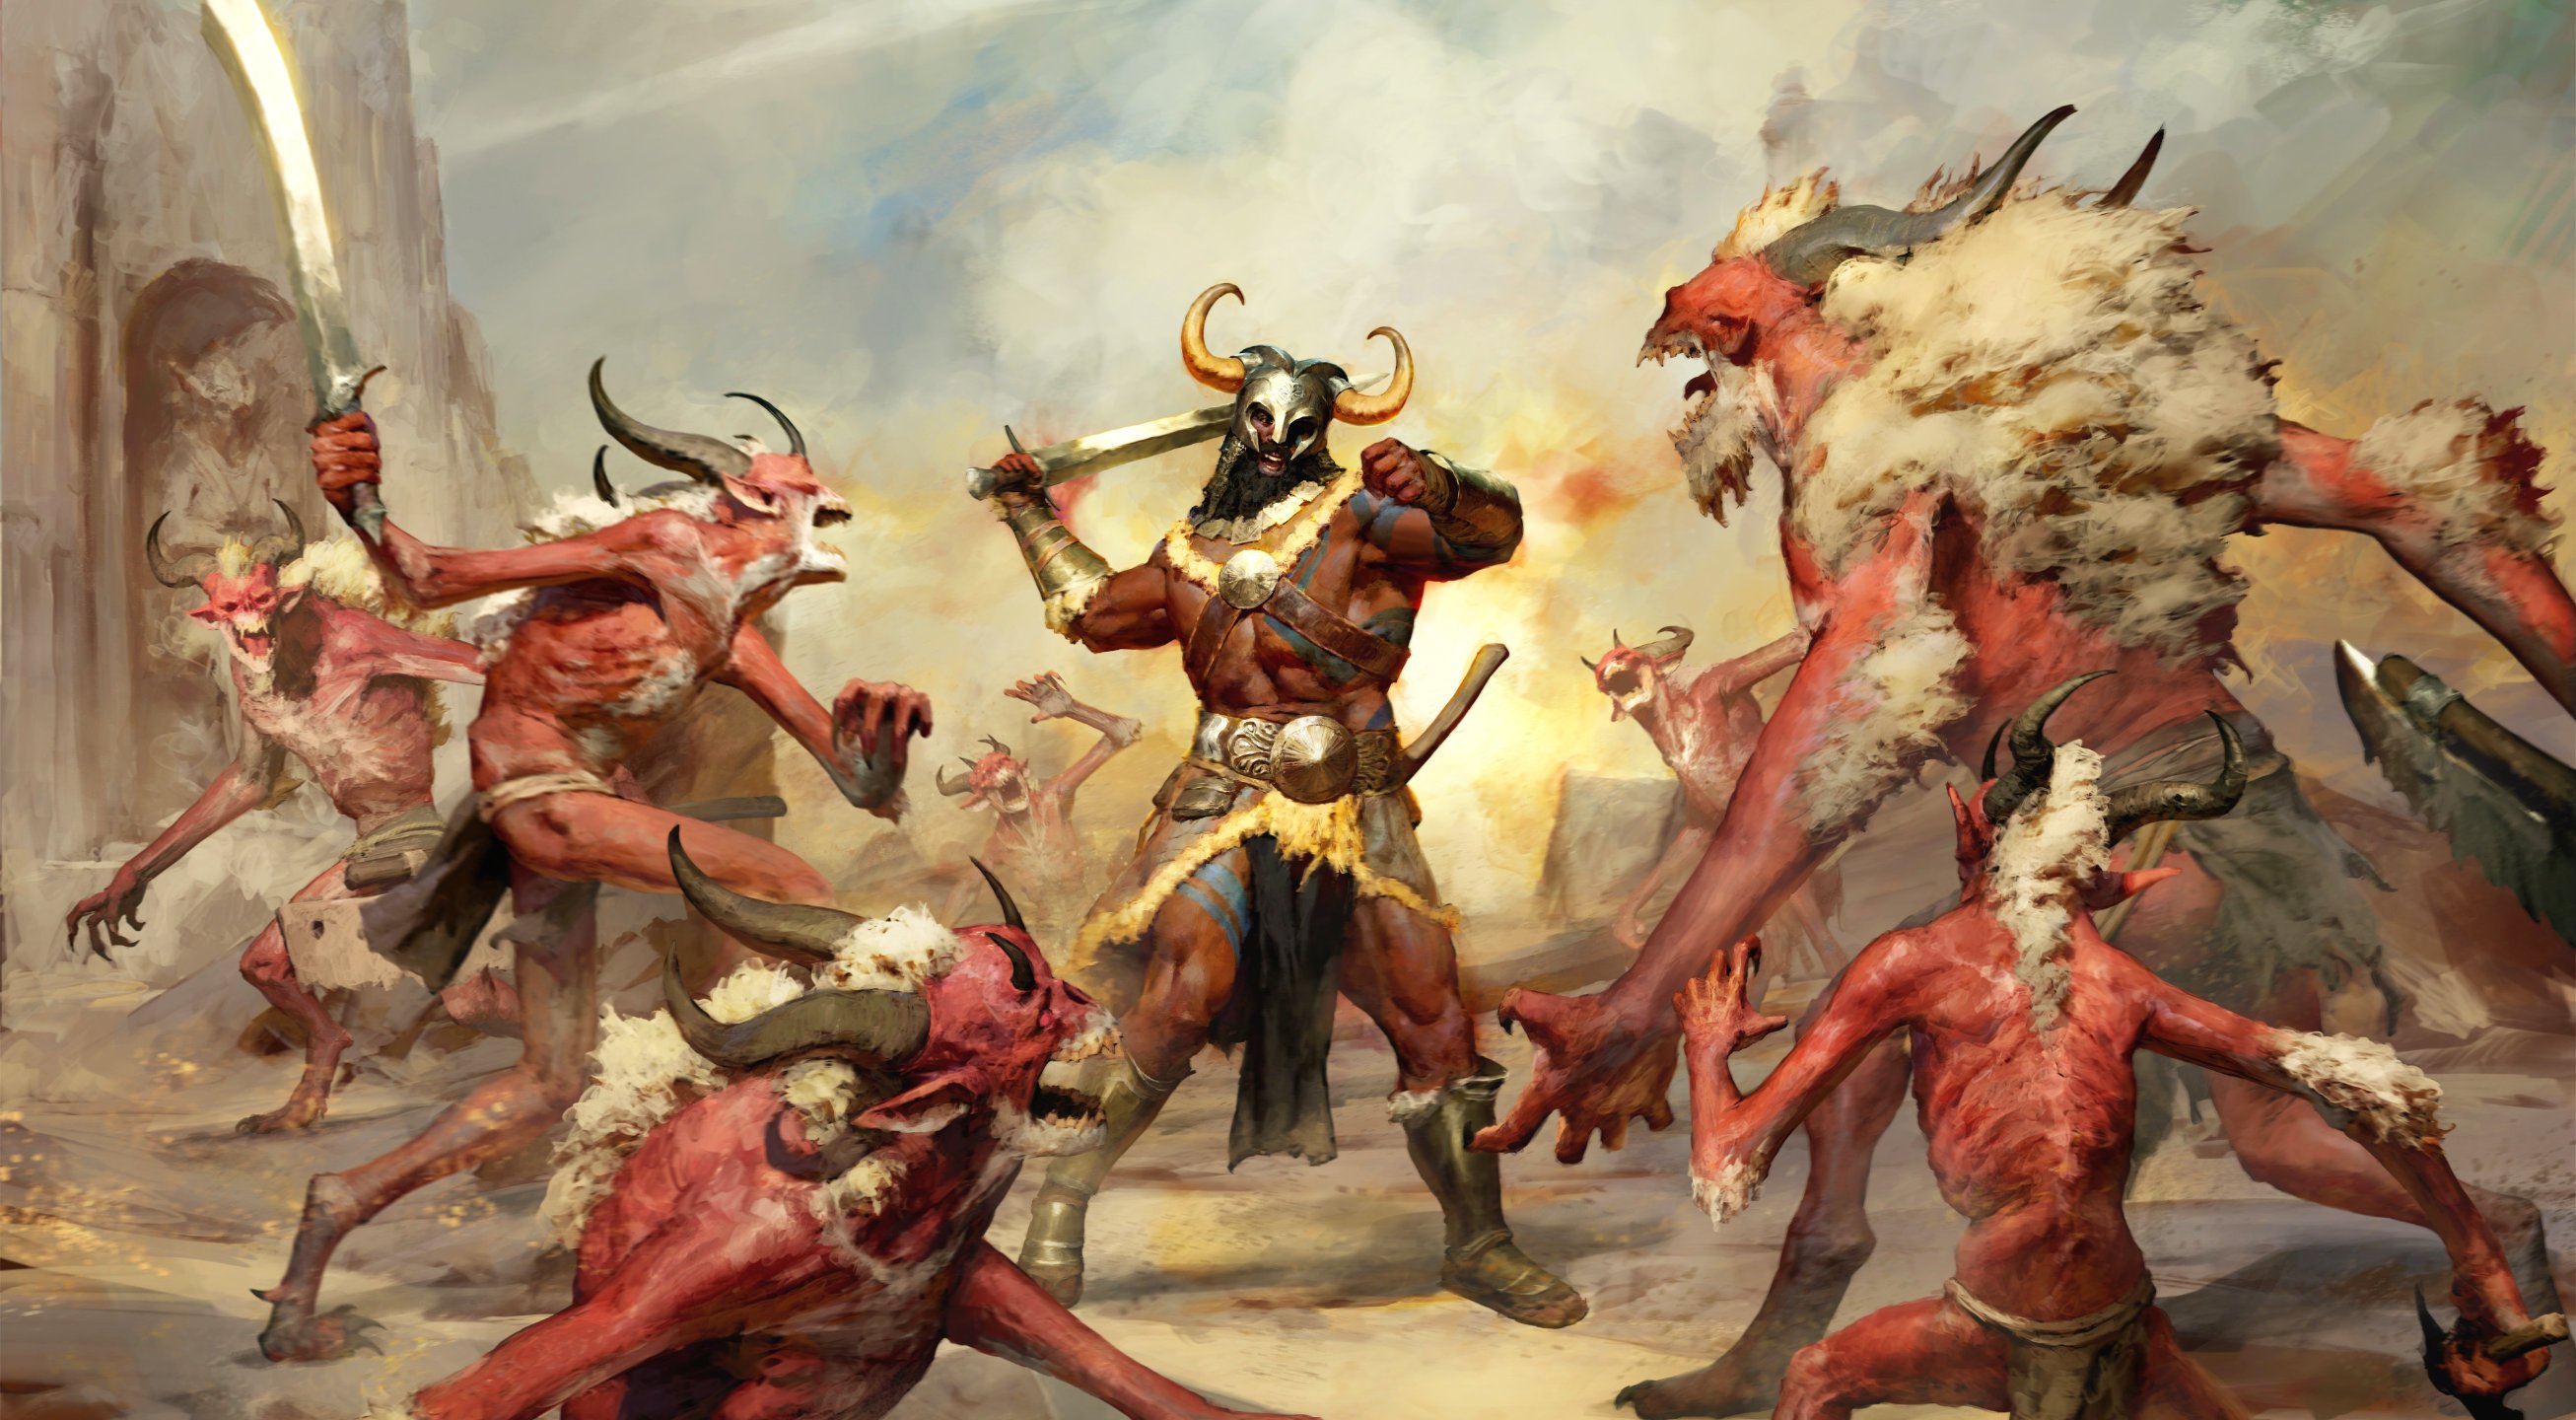


Build Introduction
The point of this leveling guide is to quickly take your character from level 1 to 70 while using ![]() Double Swing and prepare for your transition into our Dust Devil Double Swing Endgame Build. This guide will walk you through the skill point placement for levels 1-70 and give some insight on how each passive and skill work together to create synergy able to tackle whatever form of leveling you choose to take. We will also give some insight on Legendary Aspects, Affixes, Gems, and Elixirs we can utilize to accelerate our journey.
Double Swing and prepare for your transition into our Dust Devil Double Swing Endgame Build. This guide will walk you through the skill point placement for levels 1-70 and give some insight on how each passive and skill work together to create synergy able to tackle whatever form of leveling you choose to take. We will also give some insight on Legendary Aspects, Affixes, Gems, and Elixirs we can utilize to accelerate our journey.
Our primary skills with this build are ![]() Lunging Strike as our primary Fury Generator. We’ll be using this skill to generate our resources and for mobility.
Lunging Strike as our primary Fury Generator. We’ll be using this skill to generate our resources and for mobility.
Our core skill of choice is, of course, ![]() Double Swing. Our primary spender and what we will be using to carve demons into ribbons. We will be utilizing a specialization for
Double Swing. Our primary spender and what we will be using to carve demons into ribbons. We will be utilizing a specialization for ![]() Double Swing that spawns dust devils letting us do even more damage and provide extra areas of coverage to make sure no demons escape our wrath.
Double Swing that spawns dust devils letting us do even more damage and provide extra areas of coverage to make sure no demons escape our wrath.
Now that we know the two most basic skills, we can look deeper into how we will allocate our skill points as we level up.
Quick Navigation
Skill Bar and Skill Tree Points
 Lunging Strike
  Double Swing
  War Cry
  Wrath of the Berserker
  Leap
Leap  Rallying Cry
 If you are unsure how to best use these skills, read our Build Mechanics section after setting up your skill bar.
Wondering what comes after level 70 or which paragon boards to choose? Head to the Barbarian Builds Page and choose an endgame build to continue progressing your character beyond level 70 and into the endgame.
Barbarian Class Mechanic – The Arsenal System
The Barbarian is unique among classes in Diablo 4. As a master of weapons and combat, it can wield four different weapons simultaneously and effortlessly swap between them when using different skills. We have a Two-Handed Bludgeoning Weapon, a Two-Handed Slashing Weapon, and a pair of Dual-Wield Weapons. At Level 15, a quest becomes available in Ked Bardu called “Masters of Battle,” given by Forgemaster Kerdi. After you complete this short quest chain, you gain access to the second part of the Arsenal System. Weapon Techniques.
Barbarians gain various bonuses by using specific weapon types that are only active while wielding those weapons. After unlocking the Weapon Technique class feature, you can choose ANY weapon type and slot it into your technique slot, and that bonus will always be active no matter what weapon you’re actually using.
For this ![]() Double Swing setup, we want to use the Two-Handed Mace weapon technique.
Double Swing setup, we want to use the Two-Handed Mace weapon technique.
Keep in mind that while you will always benefit from the Two-Handed Mace bonus once it’s slotted in your technique slot, you will still gain the bonuses of the weapon types you’re actually wielding, as well as letting you gain more power through this system.
Finally, Barbarians can assign their skills to different weapons, allowing for seamless transitions when using various skills. Unfortunately for this build, ![]() Double Swing MUST use your Dual-Wield weapons. However, we can assign
Double Swing MUST use your Dual-Wield weapons. However, we can assign ![]() Lunging Strike to any weapon type we want. A small quality of life is to assign it to your Dual Wield Weapons for their faster attacks, so you can build resources faster, but this is relatively minor.
Lunging Strike to any weapon type we want. A small quality of life is to assign it to your Dual Wield Weapons for their faster attacks, so you can build resources faster, but this is relatively minor.
Gear, Stats, Gems, and Runes
When selecting your items, higher item power generally indicates stronger gear, but you also need to consider the affixes and effects that are relevant to your class and build. When making gear decisions during leveling, keep an eye on both the item power and the specific attributes that complement the build.
Legendary Aspects
For general information on how to unlock the Codex of Power, head to our Aspects and Codex of Power guide. You can also imprint Aspects onto items by visiting The Occultist in town.
Listed below are all the aspects that are important to this build, as well as what slot they are best placed in. However, you can move the slots around during the leveling process, especially since early on, some of these aspects can only be found via random drops and might not be in the most ideal slot.
| Gear Slot | Legendary Aspect | Aspect Power |
| Helm |  Battle Fervor’s Aspect Battle Fervor’s Aspect | Brawling Skills grant Berserking for 5 seconds on their first hit. Gain [10-15%] Damage Reduction while Berserking |
| Chest |  Aspect of Anger Management Aspect of Anger Management | While above 50 Primary Resource, deal [15-20%]x increased damage and gain Berserking but lose 3 Primary Resource Regeneration |
| Gloves | Duelist’s Aspect | While using a One-Handed Weapon, your Attack Speed is increased by [30-50%]+ |
| Pants |  Aspect of Might Aspect of Might | Basic Skills grant [20-30%] Damage Reduction for 4 seconds |
| Boots | Wildbolt Aspect | Every [3.5-1.5] seconds, Distant enemies are Pulled In to you and take 15%x increased damage from you for 3 seconds. This effect cannot occur while you are in Stealth |
| Amulet | Heavy Hitting Aspect | Your skills that create Iron Shrapnel, Earthquakes, or Dust Devils deal [40-60%]x increased damage |
| Ring 1 |  Aspect of Berserk Fury Aspect of Berserk Fury | You gain [7 – 11] Fury per second while Berserking |
| Ring 2 | Aspect of Vocalized Empowerment | Your Shout Skills grant you [10 – 15] Primary Resource Regeneration while active |
| 2-Handed Bludgeoning Weapon | Crushing Aspect | While Fortified, you deal [45-65%]x increased damage |
| 2-Handed Slashing Weapon | Vehement Brawler’s Aspect | Casting an Ultimate Skill increases your damage by [35-55%]x for 8 seconds. Gain 2 additional Ultimate Skill Ranks |
| Dual Wield Weapon 1 | Accelerating Aspect | Critical Strikes with Core Skills increase your Attack Speed by [30-50%]+ for 5 seconds |
| Dual Wield Weapon 2 | Edgemaster’s Aspect | Skills deal up to [40-60%]x increased damage based on your available Primary Resource when cast, receiving the maximum benefit while you have full Primary Resource |
Stat Priority and Tempering Affixes
During your leveling journey, you may stumble across items with incredible affixes. Tempering these items can provide you with a significant boost in power, so make sure you understand how tempering works!
As a reminder, tempering is only possible if you’ve found the tempering manuals while leveling.
Keep an eye out for the following stats that are beneficial for this build. We will list the most ideal stats and the best tempering affixes if you’re lucky enough to find the relevant manual.
| Gear Slot | Targeted Affixes | Tempering Affix |
| Helm | 1. Cooldown Reduction 2. Strength 3. Maximum Life 4. Armor | + Resistance to All Elements |
| Chest | 1. Strength 2. Maximum Life 3. Fury Regeneration 4. Armor | + Resistance to All Elements |
| Gloves | 1. Attack Speed 2. Critical Strike Chance 3. Critical Strike Damage Multiplier 4. Physical Damage Multiplier | + Critical Strike Damage |
| Pants | 1. Strength 2. Maximum Life 3. Fury Regeneration 4. Armor | + Resistance to All Elements |
| Boots | 1. Movement Speed 2. Fury Regeneration 3. Maximum Life 4. Strength | + Movement Speed |
| Amulet | 1. Critical Strike Chance 2. Attack Speed 3. Critical Strike Damage Multiplier 4. Strength | + Cooldown Reduction |
| Rings | 1. Critical Strike Chance 2. Attack Speed 3. Critical Strike Damage Multiplier 4. Strength | + Cooldown Reduction |
| 2-Handed Weapons | 1. Strength 2. Physical Damage Multiplier 3. Maximum Life 4. Critical Strike Damage Multiplier | + Critical Strike Chance |
| Dual-Wield Weapons | 1. Weapon Damage 2. Critical Strike Damage Multiplier 3. Maximum Life 4. Strength | + Critical Strike Chance |
Gems and Runewords
Gems
Listed below are the best gems to socket into gear for each slot type.
- Weapons:
 Skull for Physical Damage
 - Armor:
 Ruby for more Strength
 - Jewelry:
 Diamond for all resistances.
Runes
While leveling in Lord of Hatred, you may come across Runes, a unique gem that can be placed into an item with two sockets, such as a helm, chest, pants, or two-handed weapon. Putting one Ritual Rune and one Invocation Rune into the same item creates a Runeword, which can enhance your gameplay and grant powerful boons. Ritual Runes generate Offering when the conditions are met, and once enough Offering has been met, the associated Invocation Rune’s effect will trigger. Here are some early Rune suggestions for leveling.
| Rune Name | Rune Effect |
|---|---|
| Gain 300 Offering: Cast 5 Skills then become exhausted for 3 seconds | |
| Gain 100 Offering: Cast 2 Mobility or Macabre Skills | |
| Requires 100 Offering: Cooldown 1 second, Summon a Spirit Wolf to attack enemies for 8 seconds | |
| Requires 25 Offering. Cooldown 1 second: Gain 2.5% Critical Strike chance for 5 seconds up to 10% |
Season Mechanics
There are no specific seasonal mechanics in Season 13. Instead the Lord of Hatred expansion and all of its features are available to explore. These include:
- War Plans
- New Skill Trees
- Talisman Sets
- The Horadric Cube
- Echoing Hatred
For an overview of Diablo 4’s latest expansion CLICK HERE!
Talisman
Lord of Hatred introduces Talisman Sets. The Talisman is a Seal and Charms are placed within. Charms have some general affixes from a limited pool and can have Set bonuses which can grant significant power.
While leveling through Lord of Hatred you will be limited by what Seals you drop which determine the number of Charm slots available to you as well as what Charms drop.
For this build we recommend keeping an eye out for any Charm that allows Movement Speed, Bonus Experience, or Resistance to All Elements as these can help make your journey to level 70 significantly easier!
Mercenaries
As you play through the campaign in Vessel of Hatred, you will unlock various NPC Mercenaries who can join you on your quest to slay demons. Each Mercenary has their own small talent tree that will give them bonuses and skills to help you. Additionally, you can assign a Mercenary that you don’t take with you as a reinforcement to jump in when you activate certain skills. Let’s take a look at how we want to set this up for this build.
We hire Varyana the Berserker Crone
- Core Skill:
 Cleave
 - Core Skill Passive:
 Hysteria
 - Iconic Skill:
 Bloodthirst
 - Iconic Skill Passive:
 Bloodlust
Our Reinforcement Mercenary will be Raheir, the Shieldbearer
Build Mechanics
Rotation and Playstyle
The majority of our power with this build comes from fast attacks with ![]() Double Swing and a few new Legendary Aspects that provide powerful Dust Devils when we swing. We want to start any encounter by
Double Swing and a few new Legendary Aspects that provide powerful Dust Devils when we swing. We want to start any encounter by ![]() Lunging Strike to get into the group and then
Lunging Strike to get into the group and then ![]() Double Swing away once we’re in, carving the demons to ribbons. If
Double Swing away once we’re in, carving the demons to ribbons. If ![]() Leap is available, you’ll want to engage with that instead of
Leap is available, you’ll want to engage with that instead of ![]() Lunging Strike. Use your
Lunging Strike. Use your ![]() War Cry liberally for its damage bonus, use
War Cry liberally for its damage bonus, use ![]() Rallying Cry to help manage your resources, and whenever it is available or when you’re running into a boss or powerful elite, enter
Rallying Cry to help manage your resources, and whenever it is available or when you’re running into a boss or powerful elite, enter ![]() Wrath of the Berserker for a massive damage boost to send them running
Wrath of the Berserker for a massive damage boost to send them running
Berserking
Perhaps the most critical component of getting the most out of this build is managing your Berserking state. We have a few options to enter it. Our main way will be through ![]() Leap, which counts as a Brawling Skill and will put us in the state whenever it hits an enemy, thanks to Battle Fervor’s Aspect if we’re lucky enough to get it on our journey.
Leap, which counts as a Brawling Skill and will put us in the state whenever it hits an enemy, thanks to Battle Fervor’s Aspect if we’re lucky enough to get it on our journey. ![]() Lunging Strike can also provide it to us for a few seconds on critical strikes as we’re using it to move through demons and generate our resources.
Lunging Strike can also provide it to us for a few seconds on critical strikes as we’re using it to move through demons and generate our resources.
Finally if we’re fortunate enough to acquire two aspects, they synergize with each other to grant us permanent berserking and a plethora of resources. These are Aspect of Anger Management and Aspect of Berserk Fury as the former grants us this state whenever we’re over 50 Fury but reduces our regeneration by 3. However, Berserk Fury grants us more fury every second we’re berserk and even at the lowest value it is more than the 3 fury we lose from anger management giving us a net gain of resources while also keeping us in the Berserking state so we gain all of its benefits. If you’re lucky and get both of these aspects during your journey be sure to slap them asap to gain their powers which should make your journey to defeat Mephisto even easier!
Season Updates
For a complete overview of Season 13, its mechanics and theme, new leveling activities, and other changes coming with the Season of Slaughter please check out our Season Hub!
For Lord of Hatred, ![]() Double Swing has power not seen since Season 1 of Diablo 4! Allowing it to more easily maintain its attack speed and fast paced gameplay style of utilizing your dual-wield weapons. Weapons in our arsenal system that normally go unused in other builds. With the power of
Double Swing has power not seen since Season 1 of Diablo 4! Allowing it to more easily maintain its attack speed and fast paced gameplay style of utilizing your dual-wield weapons. Weapons in our arsenal system that normally go unused in other builds. With the power of ![]() Leap letting us crash in and pull enemies to us as well as generate some fury and berserking we can then start spamming our
Leap letting us crash in and pull enemies to us as well as generate some fury and berserking we can then start spamming our ![]() Double Swing to carve them to pieces. The added dust devils spawned from it can help clear out stragglers and take on larger foes.
Double Swing to carve them to pieces. The added dust devils spawned from it can help clear out stragglers and take on larger foes.
Difficulty & Endgame
Once you hit level 70 with this build, you will be ready to tackle harder difficulties as you transition into more challenging content. Make sure to pick one of our recommended Endgame Builds to continue the journey. Additionally, we recommend keeping your Obols until you reach maximum level (70), then spend them on a weapon to help kickstart your preferred endgame build.
Changelog
- May 8th 2026: Updated leveling path for skill selection
- April 22nd 2026: Updated for Season 13 and Lord of Hatred
- March 5th 2026: Updated for Season 12
- December 4th 2025: Updated for Season 11
- September 21st 2025: Updated for Season 10
