

Build Introduction
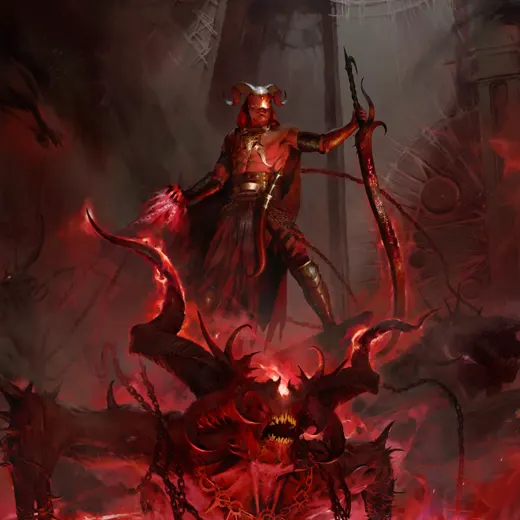
Your full summoner focused end-game Warlock beast of a build. The Abaddon Summoner Warlock build is all about getting a mass army of demons fighting for you as you plow through the battlefield.
Have questions or feedback on the guide? Join the livestream and ask GhazzyTV or come to Cashlarond’s stream!
Curious how this build fares in various content types? Take a look at our build tier lists.
Strengths and Weaknesses
- Massive Burst Damage
- Safe behind an army of minions
- Cheap to build
- Not the fastest build
- Requires set-up gameplay
Build Requirements
The build does not have any specific aspects or unique items to function for the end-game!
Quick Navigation
Want to skip ahead? Use the table below to jump to the sections you are looking for.
Skill Bar and Skill Tree Points
 Sigil of Summons
 Sigil of Subversion
 Fiend of Abaddon
 Bombardment
 Nether Step
 Command Ae’grom
Follow the points allocated in the Skill Tree above for the complete 83-point build. 14 skill points are locked behind the Season Rank System.
Class Mechanic – Soul Shards
Soul Shards is the Warlocks unique class mechanic allowing you to bind yourself to a Soul Shard Greater Demon that will fight beside you. They come with a variety of different effects as well as on-use-abilities to help you on the battlefield.
Below you’ll find the recommended Soul Shard Demon to bind for this build.
- Legion Shard – Grants the skill Summon Ae’grom who will consistently spawn Lesser Demons on the field for you and blow them all up with his on-use-ability for massive damage output.
- Spawn Fragment – This makes Ae’grom spawn Vile Child Lesser Demon every 1 second. When you summon a Greater Demon this increases the spawn rate by 50% for 4 seconds up to 150%!
Gear, Gems and Stats
The following sections cover the important systems that are essential to improving the power of your character in the endgame of Diablo 4.
Legendary Aspects
Each aspect is listed with its matching gear slot. Do your best to keep each aspect in the assigned slot. Aspects placement is planned with potential Unique and Mythic Unique gear upgrades in mind for easiest and cheapest transition. Obol gambling is a great way to try to obtain specific slot Legendary Aspects and even Uniques early. For exact Runewords suggestions, see here.
| Gear Slot | Gems | Aspect / Unique | Legendary Aspect / Unique Power |
|---|---|---|---|
| Helm |  Splinter Splinter | 1. 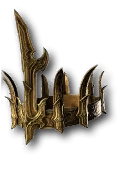 Leoric’s Crown Leoric’s Crown2.  Bane-Link Aspect (if not transfigured on amulet) Bane-Link Aspect (if not transfigured on amulet) | This item counts as Jewelry and increases the effect of any gem socketed into the helm by 50%[x] |
| Chest |  Nagu + Nagu +  Que Que |  Ae’grom’s Schism (* Should be highest priority to be made into Mythic Quality) Ae’grom’s Schism (* Should be highest priority to be made into Mythic Quality) | Allows you to summon a second Ae’grom! |
| Gloves | n/a |  Aspect of Calamity Aspect of Calamity | Hex increases your critical strike chance. |
| Pants |  Neo + Neo +  Prid Prid |  Aspect of Heavenly Strength Aspect of Heavenly Strength | By wielding a 2h weapon you gain #% damage reduction. |
| Boots | n/a | Sadistic Aspect | When killing your demons, you have a 30-50% chance for each to count as two kills. |
| Weapon 2H |  Royal Skull Royal Skull | 1. 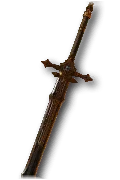 The Grandfather The Grandfather2. 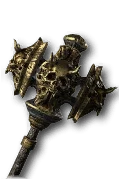 Scepter of the Three Scepter of the Three3. Aspect of Inner Calm | You can now equip all Ultimate Skills and gain 15 Ranks in them. Attacking enemies with no active Ultimate Skill builds up your Ultimate Skill damage by x%, up to #%. After starting Ultimate Skills the damage bonus is reset once all have ended. |
| Amulet (50% Scaling) | Splinter | Transfigured: Bane-Link Aspect 1. Aspect of Inner Calm | While standing still, deal up to x#% increased damage. |
| Ring |  or Royal Skull or Royal Skull | Demonic Aspect | Each hit with Demonology Skills increases the damage you deal with Demonology Skills by 3.3%[x] for 10 seconds, up to 65%[x]. |
| Ring | or Royal Skull | Hellbent Commander Aspect | You deal x% increased summon damage. |
Affixes and Tempering Priority
- Affixes on gear are sorted in priority descending order.
- Bolded affixes are the most important targets for Masterworking upgrade. If multiple affixes marked – any selected is acceptable for case by case gear.
- Affixes marked by multiple “*” – indicate desirability of obtaining them as Greater Affix originally or with lucky Tempering.
Be sure to check our Tempering and Masterworking guides for more details about these topics.
| Slot | Affixes | Tempering Affixes |
|---|---|---|
| Helmet | * 1. Willpower 2. Maximum Life 3. Total Armor 4. + Ranks to Demonology |  Worldly Endurance – Maximum Life Worldly Endurance – Maximum Life |
| HelmetLeoric’s Crown | * 1. Willpower 2. Maximum Life 3. Total Armor 4. + Ranks to Demonology 5. [Guaranteed] Attack Speed | Worldly Endurance – Maximum Life |
| ChestAe’grom’s Schism (* Should be highest priority to be made into Mythic Quality) | * 1. Willpower 2. Maximum Life 3. Maximum Resource 4. Resistances | Worldly Endurance – Total Armor |
| Gloves | * 1. Critical Strike Damage Multiplier 2. Willpower 3. All damage multiplier 4. Maximum Life | Worldly Finesse – Critical Strike Damage |
| Pants | * 1. Willpower 2. Maximum Life 3. Total Armor 4. Lightning Resistance | Worldly Endurance – Maximum Life |
| Boots | * 1. Willpower 2. Maximum Life 3. Movement Speed 4. Poison Resist | Natural Motion – Movement Speed |
| Amulet | * 1. Critical Strike Multiplier 2. Willpower 3. All Damage Multiplier 4. Vulnerable Damage multiplier | Worldly Finesse – Critical Strike Damage |
| 2x Rings | * 1. Vulnerable Damage Multiplier 2. Willpower 3. Critical Strike Damage Multiplier 4. Attack Speed | Worldly Finesse – Critical Strike Damage |
| Weapon 2HThe Grandfather | *** 1. Weapon Damage 2. Critical Strike Damage Multiplier 3. Critical Strike Chance 4. Willpower | Worldly Finesse – Critical Strike Damage |
For the dedicated page on Gear Systems and Itemization Overview, check the guide here.
Ancestral and Mythic Uniques
See below for information on useful Uniques and how to integrate them into this build:
| Unique | Category | Synergy | Source |
| Leoric’s Crown | Ancestral Best in Slot | – Allows to slot and scale Soul Splinters | All bosses (Global Drop) |
| Ae’grom’s Schism | Ancetral Best in Slot | – Multiple Summons – Big damage scaling | Varshan Guide |
| The Grandfather | Mythic Best in Slot | – Great Critical Strike Damage modifier | How to Farm Mythic Uniques guide |
Gems and Runewords
See below for a more detailed explanation of the best Gems and Runewords to socket into your gear.
| Weapon Gems | Armor Gems | Jewelry Gems |
|---|---|---|
| Royal Skull for increased damage |  Runeword, Splinter and Runeword, Splinter and  Royal Sapphire for increased Willpower. Royal Sapphire for increased Willpower. | Royal Diamond or Splinter |
| Runeword Combination | Effect |
| Neo + Prid | You generate Offering after not taking damage for 2 seconds. Prid invokes the Warlocks  Dark Prison ability tethering enemies together. Dark Prison ability tethering enemies together. |
| Nagu + :Que | Maintain at least 1 active summon for 5 seconds to gain offering for each summon up to 5. Invoke the Druid’s  Earthen Bulwark Skill. Earthen Bulwark Skill. |
| Soul Splinter | Slot preference | Effect |
 Abyssal Splinter of Pain Abyssal Splinter of Pain | Leoric’s Crown | You gain 25% Damage Reduction, but you lose 30% Movement Speed. |
 Abyssal Splinter of the Black Soulstone Abyssal Splinter of the Black Soulstone | Leoric’s Crown | Killing enemies absorbs a soul for 15 seconds. Each soul increases your damage by x2.5% but increases your damage taken by 0.5%. This effect stacks, but does not refresh. |
| Abyssal Splinter of Anguish | Jewelry | You gain +20% Attack Speed and Critical Strike Chance, but your Primary Resource Costs are increased by 30%. |
Paragon Board
Below you’ll find the entire end-game paragon board set-up for this build in detail!
It is imperative to level up all Glyphs to level 50 first to increase activation radius and then to level 51 to unlock secondary damage multiplier. More about paragon glyphs and how to level them, here.
Some paragon points are locked behind the Season Rank System.
Season Mechanics
Splinters of Evil
In Season of Hell’s Legacy, one of seasonal powers will consist of the three 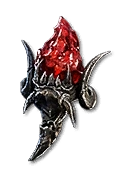 Splinters of Prime Evil, acquired by completing seasonal questline and defeating echoes of Diablo beneath Tristram Cathedral, Baal at Arreat Summit, and Mephisto within the Durance of Hate. Splinter of Evil trigger iconic Prime Evil area of effect damage abilities and alter actitivies associated with the Prime Evil.
Main consideration for first Splinter of Evil choice is expected to be in activity modifiers. Only one Splinter of Prime Evil can be used at a time, but there is a mechanism to change. Due to Helltide being the most common early progression activity, it is recommended to use Splinter of Terror first.
Duplicitous Soul Splinters
The second layer of seasonal powers consists of Duplicitous Soul Splinters gems, like 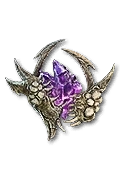 Abyssal Splinter of Hellfire, to be slotted into jewelry and the newly introduced Leoric’s Crown helm. You can equip up to three Soul Splinters among available Jewelry slots.
Duplicitous Soul Splinters gems provide sizeable buffs to some stats at the price of heavy penalties to others. One should be careful at making choices to either ignore the penalty – Damage over Time builds do not care about losing Critical Strike Chance, for example, or compensate it.
Recommended Duplicitous Soul Splinters setup to can be looked up in Gems and Runewords.
Diablo II Runewords Gear
In Season 15 some Diablo II runes, like 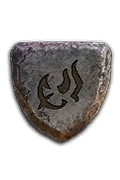 Ral or
 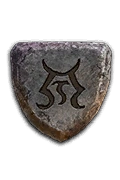 Ith were reintroduced for the season, as the cherry on top. While being not impressive on their own – they can be used to craft new Unique gear piece by combining certain runewords and Normal “white” item base inside Horadric Cube. There are few the most impressive outcomes, like
 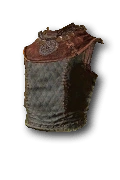 Enigma (Jah Ith Ber),
 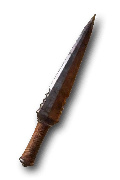 Spirit (Tal Thul Ort Amn),
 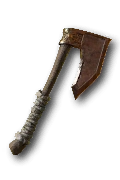 Grief (Eth Tir Lo Mal Ral) or
 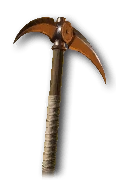 Infinity (Ber Mal Ber Ist). Ancestral version of item base will produce the Ancestral version of Unique.
For a complete overview of the current Season, its mechanics and theme, new leveling activities, and other changes, please take a look at our comprehensive season hub here.
Talismans
The Lord of Hatred expansion introduces Talismans as a new character progression system. You get to equip a Seal and place Charms into its slots for a massive power boost. The recommended setup for the Abaddon Summoner Warlock build is listed below:
- Seal – 6 Charm slot with Critical Strike Multiplier is the best or with any other damage multiplier. Best set for this build is “Chains of Horazon”.
- Charms – Demonology Ranks, any defensive stats or All Stats should be the prio here. Make sure you get the 5 set pieces of the “Chains of Horazon” set and the last one is optimal as
 Scepter of the Three.
Mercenaries
During the Vessel of Hatred campaign, you will unlock Mercenaries to assist you. While you can choose freely early on, we recommend Raheir as your main merc:




For the reinforcement, stick with Varyana, utilizing her  Bloodlust to trigger when any Skill is cast in combat.
Rotation and Build Mechanics
The build focuses on summoning a large army of demons to fight for you before overwhelming the enemies with our most powerful greater demon skills. This keeps enemies at bay allowing you to cast Bombardment freely from a safe position during a fight. Sigil of Demons will pop up a hellworm that will copy your casts further pushing the growing army playstyle.
Rotation and Playstyle
- Nether Step – Used for increasing general clear speed and to get out of harms way.
- Sigil of Subversion– Applies Hex on enemies for better damage as well as suvivability.
- Sigil of Summons– Gives your Lesser Demons a damage boost and helps us keep demons actively rolling for paragon legendary node “Fathomless”.
- Fiend of Abaddon– All your Dominance should now be spent on this skill for his incredible damage output.
- Command Ae’grom – This guy needs to be on the field at all times to spawn your Lesser Demons and using his command skill to blow them up.
- Bombardment– At this point we’ll be spamming Bombardment as long as we are behind our army of demons. The Sigil of Demons will be mimicking the casts once it activates which is VERY quick and every 200 demon we get a free demon summon which goes straight back into the Fiend of Abaddon.
- Important note – Abaddon is an expensive cast, and generally with a free cast you can get two out at once; once free, once at 30 Dominance. This doesn’t always line up but more often than not you’ll see this happen. Your Demon summon icons glow when you have the free cast available!
Season Updates
Below you’ll find the most noteworthy changes for Season 15 Hell’s Legacy:
- Leoric’s Crown, Diablo II runes like Ur and Abyssal Splinter of Anguish kind of gems were added.
For a complete overview of the current Season, its mechanics and theme, new leveling activities, and other changes, please take a look at our comprehensive season hub here.
Changelog
- September 16th, 2026: Guide updated for Season 15.
- June 26th, 2026: Guide updated for Season 14.
- May 14, 2026: Gear adjustments for optimization.
- May 1st, 2026: Skill-tree and Rotation optimized, boots aspect changed.