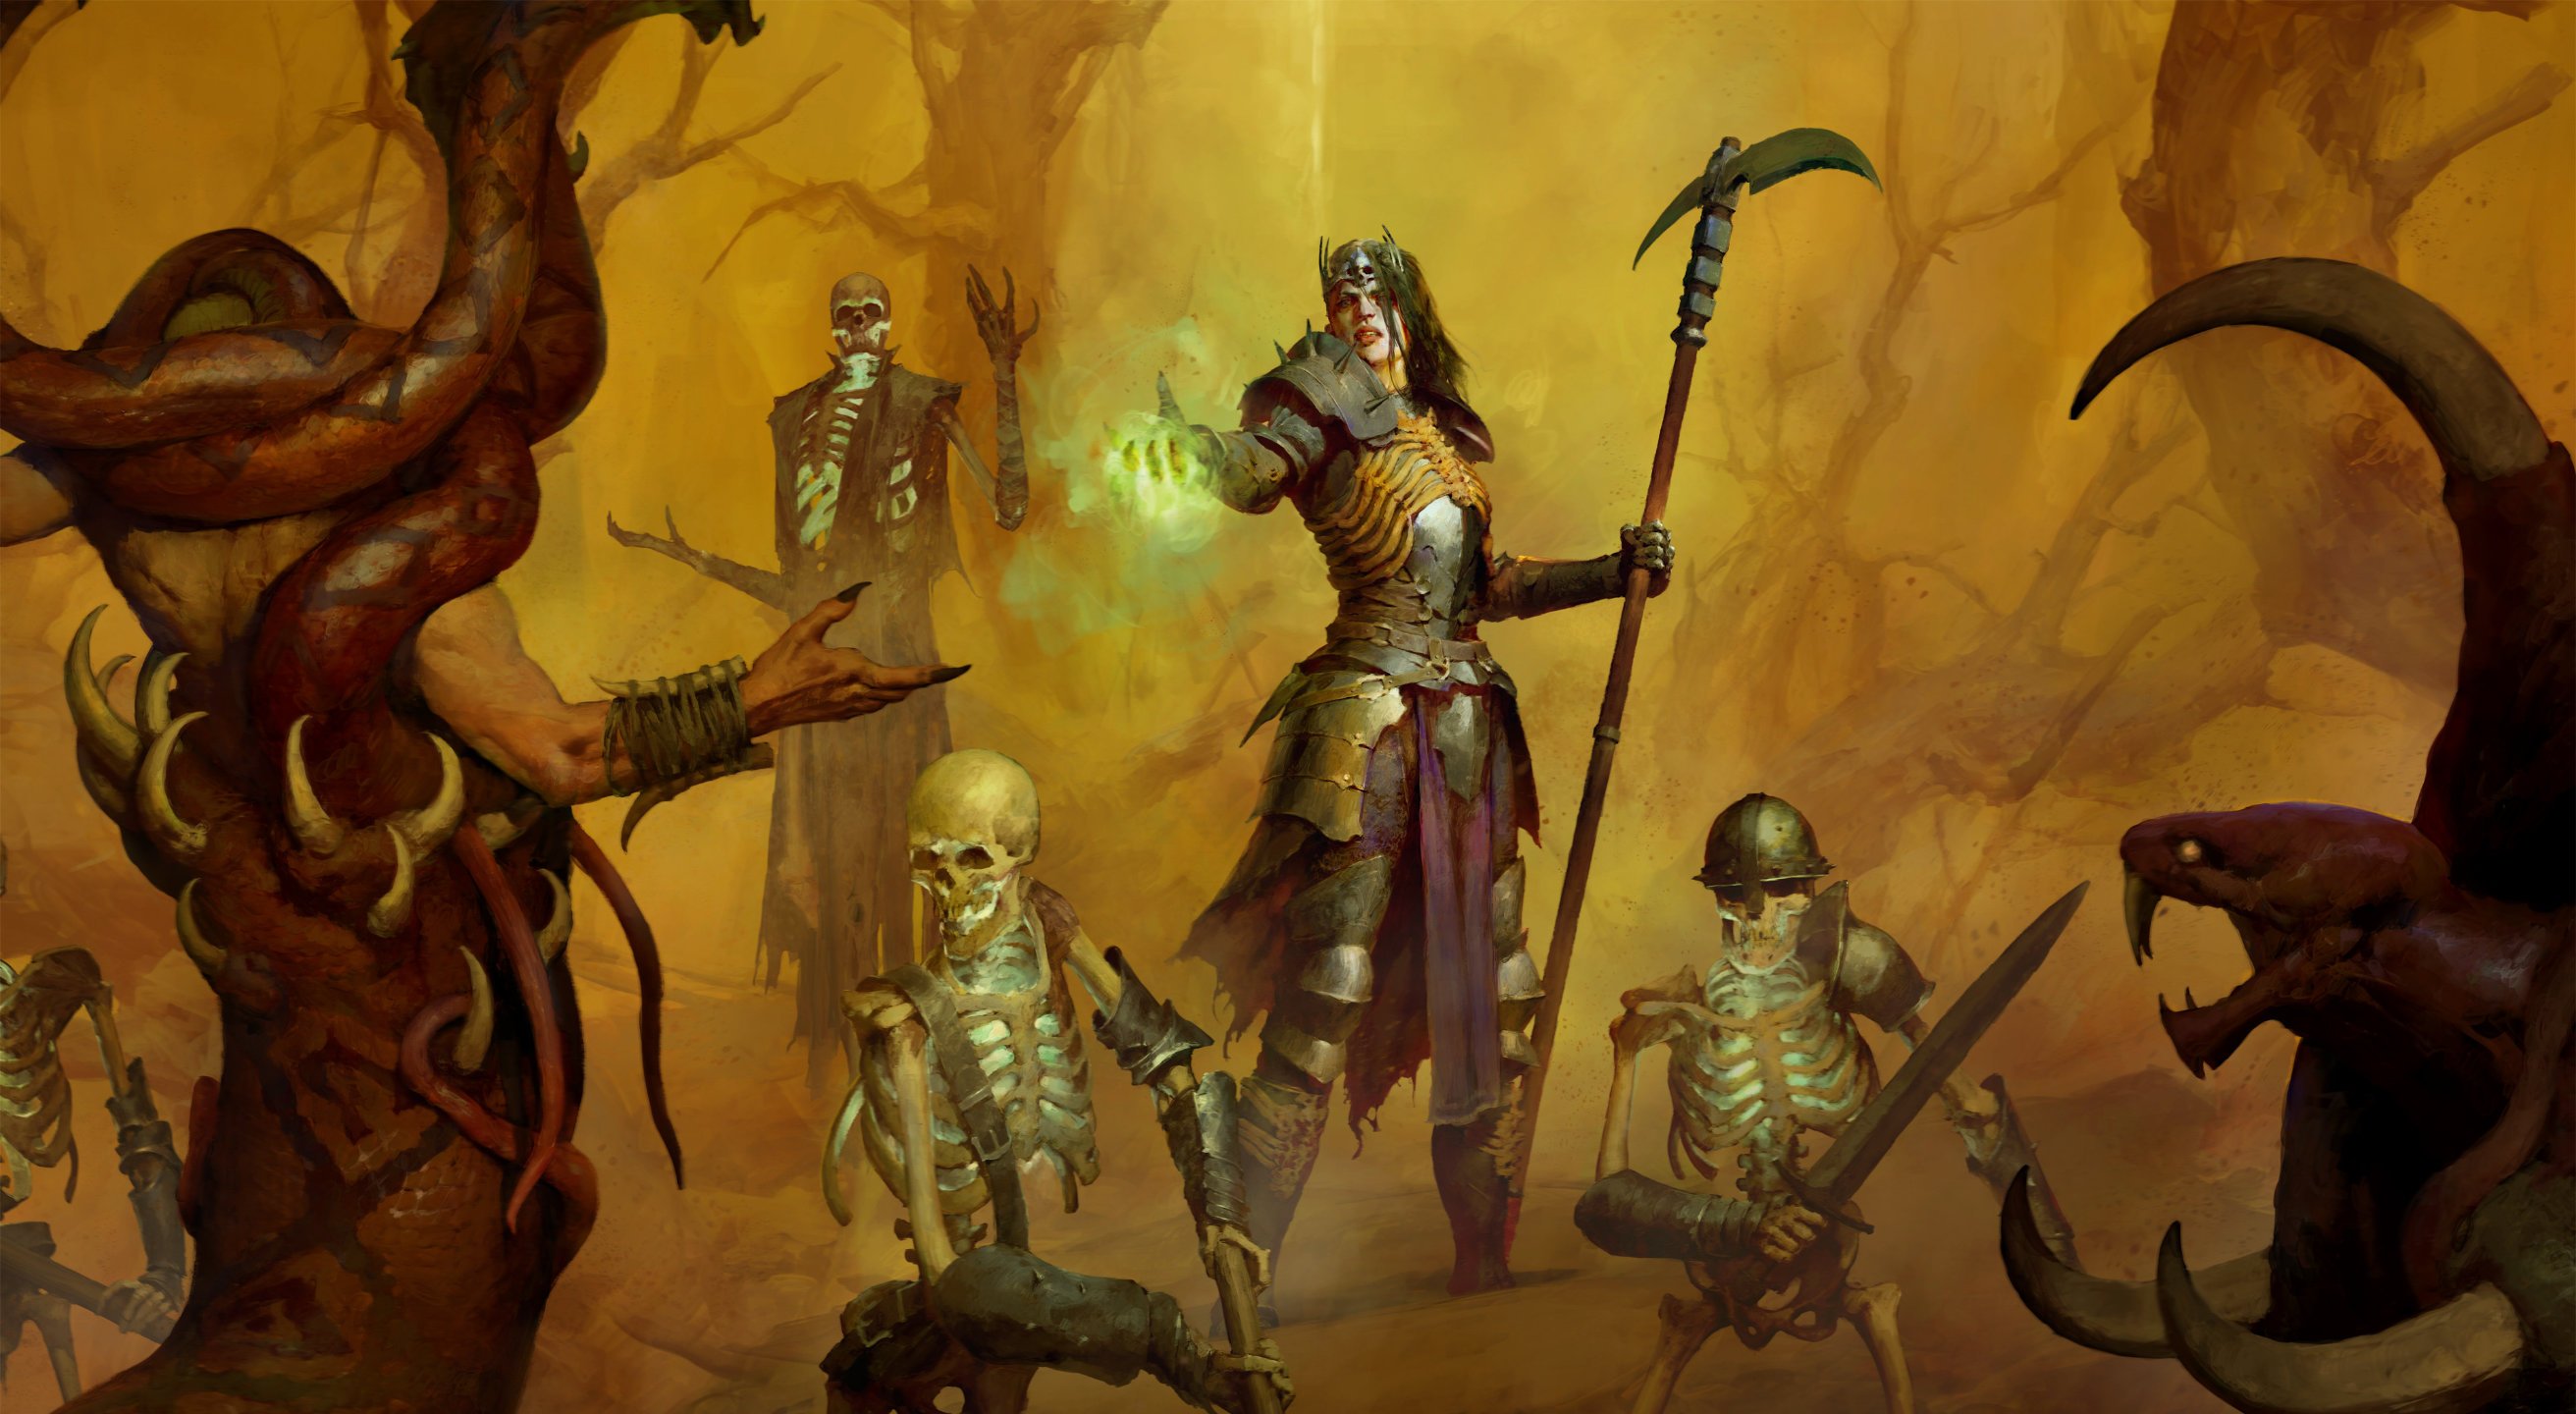


Build Introduction
This guide is a collaboration between GhazzyTV and community member Garm Z. The Shadowblight build is a very relaxing, well-rounded, and high-performing build for any content, providing many layers of defenses as your enemies die to brutal critting shadow damage.
Have questions or feedback on this guide? Join the livestream and ask me!
Strengths and Weaknesses
- Safe & comfortable to play
- Expected to be the top performer for Season 10
- Single button gameplay
- Lack of crowd control
- Single button gameplay
To see how this build compares to the other builds on our site, you can check out our build tier lists.
Build Requirements
The “Alter the Balance” unique Chaos Perk from Torment 1 or higher is mandatory for the build to function!
Quick Navigation
Want to skip ahead? Use the table below to jump to the sections you are looking for.
Skill Bar and Skill Tree Points
Follow the points allocated in the Skill Tree above for the complete 71-point build. The additional 12 skill points are completed using the Renown system.
Necromancer Class Mechanic – Book of the Dead
Since we are focusing entirely on dealing brutal damage with our shadow skills, we have no interest in bothering our minions, so they will all be sacrificed in the name of Lilith.
- Melee Skeletons: If Resistances < 50% Defenders [Sacrifice] – Resistance to All Elements. If resistances are fine then Reapers [Sacrifice] – Increases our Shadow Damage.
- Mage Skeletons: Cold [Sacrifice] – Increased damage to Vulnerable.
- Golem: Iron [Sacrifice] – Increased Critical Strike Damage.
Gear, Stats, Gems, and Runes
The following sections cover the important systems that are essential to improving the power of your character in the endgame of Diablo 4.
Legendary Aspects
Each aspect is listed with its matching gear slot. Do your best to keep each aspect in the assigned slot. Additionally, if you are trying to farm a specific item, we recommend using your Obols to target farm them! Other recommendations for Legendary Aspect farming would be to do the Seasonal mechanic and to some extent you can farm them in Helltides as well.
| Gear Slot | Gems | Aspect / Unique | Legendary Aspect / Unique Power |
|---|---|---|---|
| Helm |  Aspect of the Cursed Aura Aspect of the Cursed Aura | A dark aura surrounds you, inflicting | |
| Chest |  Aspect of Hardened Bones Aspect of Hardened Bones | You gain 10-30% increased damage reduction. | |
| Gloves | N/A |  Conceited Aspect Conceited Aspect | Deal x [10 – 30%] increased damage while you have a Barrier active. |
| Pants | You deal 20-50% increased Critical Strike Damage to enemies affected by your Curses. | ||
| Boots | N/A |  Aspect of Metamorphosis Aspect of Metamorphosis | When you Evade you turn in to a cloud of bats, becoming Unstoppable for 2.5 seconds. Enemies along your path take X Physical damage and are inflicted with Vampiric Curse. Evade’s Cooldown is increased by x seconds. |
| Weapon 2H (Sword) | Blighted Aspect | Consecutive hits with the | |
| Amulet | Aspect of Decay | Each time the | |
| Ring | Aspect of the Damned | You deal x [35 – 55%] increased Shadow damage to enemies afflicted by any Curse. | |
| Ring | Sacrificial Aspect | Your Sacrifice bonuses are increased by x35-55%. |
In Season 10, we’ll have access to Chaos Armor to further push the limits of the build!
Curious how this build compares to other endgame options? Take a look at our Endgame Build Tier List.
Stat Priority and Tempering Affixes
Below are the affixes to prioritize on gear. Each line of affixes is listed in order of importance. Tempering Manuals and their recommended affixes are provided in the second column, and the bolded affixes are the most important targets for Masterworking upgrades. The main priority for Greater Affixes are marked with a “*”, secondary would be anything providing Intelligence or Life. Be sure to check our Tempering and Masterworking guides for more details about these topics.
| Slot | Targeted Gear Affixes | Tempering Affixes |
|---|---|---|
| Helm | * 1. Intelligence 2. Maximum Life 3. Cooldown Reduction 4. Essence per Second | |
| Chest | * 1. Intelligence 2. Maximum Life 3. All Resistance 4. Essence per Second | |
| Gloves | * 1. Attack Speed 2. Critical Strike Chance 3. Intelligence | |
| Pants | * 1. Critical Strike Chance | n/a |
| Boots | * 1. Intelligence 2. Armor 3. Movement Speed 4. Essence per Second | |
| Amulet | * 1. Intelligence 2. + Ranks to Gloom 3. + Ranks to Terror Note: Can replace any of the + Ranks with + Ranks to Coalesced Blood, Critical Strike Chance or Attack Speed | |
| Rings (2x) | * 1. Attack Speed 2. Critical Strike Chance 3. Intelligence | |
| 2H Weapon (Sword) | * 1. Intelligence 2. Maximum Life 3. Lucky Hit: Chance to restore primary resource |
Keep in mind that the maximum Resistance is 70% by default for each element and can be increased to 85% by various sources. Furthermore, Unique items cannot be tempered, only masterworked!
Make sure to reach the Armor Cap of 1,000. If you struggle to reach this cap you can replace Maximum Life modifiers and tempers to Armor ones instead to help achieve this cap.
Uniques and Mythic Uniques
Below you will find information on Uniques and Mythic Uniques that are useful for this build. Moreover, if you are interested in target farming Mythic Uniques, check out our How to Farm Mythic Uniques guide.
Uniques
 Blood Moon Breeches (Required) – Big damage multiplier and should not be easily overlooked.
Mythic Uniques
Some Mythic Unique items can be absolutely insane, but comes at the cost of removing a Legendary aspect power which we are already very short on. Below is a list of Mythic Uniques you could use though:
 Heir of Perdition – Simple helmet replacement. Greater Affix and Masterworking priority on this item will be the Lucky Hit modifier. This will remove your
  Zan +
Zan +  Thul with
  Igni +
  Wat to keep your curse rolling.
  Shroud of False Death – Simple body armor replacement. Greater Affix and Masterworking priority on this item should be on the All Stats or Maximum Life.
 Ring of Starless Skies – This can replace your Sacrificial Aspect ring. Greater Affix and Masterworking priority on this item is the Attack Speed.
Gems and Runewords
See below for a more detailed explanation of the best Gems to socket into your gear for each category.
| Weapon Gems | Armor Gems | Jewelry Gems |
|---|---|---|
| Recommended Runewords listed below | Recommended Runewords otherwise For increased Intelligence. | For increased Armor. Can be used to help resistance if your armor has reached the cap. |
- Make sure to convert not used gem-fragments to Skull fragments to obtain 3x
 Royal Skull as early as possible.
The following Runewords are recommend to be used for this build.
| Runeword Combination | Effect |
| Gain: 1000 Offering when you become Injured or Crowd Controlled. Cooldown 10 seconds. For 600 Offering (Overflow: Increased Duration). Cooldown 6 seconds. Invoke the Rogue’s | |
| Gain 150 Offering when you cast an Ultimate skill. For 400 Offering. (Overflow: Further Increased Damage). Cooldown 1 second. Casting a Skill other than a Basic or Defensive spends all your Primary Resource to increase your damage up to 100% for 1 second. |
![]() Zan +
Zan + ![]() Lum is a temporary Runeword that can help with Essence till you’re good without it. This Should be the main Runeword, and once Essence is solved, we replace it with whichever Runeword you get last as listed above.
Lum is a temporary Runeword that can help with Essence till you’re good without it. This Should be the main Runeword, and once Essence is solved, we replace it with whichever Runeword you get last as listed above.
Paragon Board
Below, you’ll find the entire end-game paragon board set-up for this build in detail!
Season of Infernal Chaos (Season 10)
In Season 10, we get access to Chaos Perks as well as Chaos Armor. Below you’ll find a list of our recommended items to look out for.
Chaos Perks
| Power | Description |
| Your base Core Skills are now empowered as Ultimate Skills, cost no Essence, but have a 20 second Cooldown. Your base Ultimate Skills are now altered to also be Core Skills and have no Cooldown, but cost 50 Essence. | |
| Lucky Hit: Damaging an enemy has up to a 10% chance to trigger a Chaotic Burst on the enemy, dealing 400% damage. Your Chaotic Bursts that hit an enemy reduce a random active Cooldown by 0.5 seconds. | |
| Your Healing Potion is infused with the power of Chaos, granting you 100% Resource Cost Reduction, +80% increased Attack Speed and +80% increased Movement Speed for 5 seconds. Your Healing Potion has a 15 second Cooldown and you can drink it at full Life. Cooldown is affected by Cooldown Reduction. | |
| Chaotic Bursts randomly erupt around you, dealing 400% damage of your highest damage type. Your Chaotic Bursts additionally deal 100% of their initial damage over 4 seconds. |
Chaos Armor
Chaos Armor is seasonal corrupted unique gear that can take the form and slots of other armor pieces. An amulet can become boots or a helmet, a shield can become gloves, and so on. Chaos pieces carry their original implicit affixes, like All Resistances from Jewelry or weapon damage multiplier from the shield, regardless of the form they take. They always have increased AND top roll unique aspect value.
Below you’ll find a list of unique items that would do very well for this build as a Chaos Armor:
 Ebonpiercer – Any slot except Chest. Massive amount of ranks to
  Reaper’s Pursuit synergizes very well with 6 Darkness skills on our action-bar. For Masterworking you’ll want to prioritize Ranks to Reaper’s Pursuit.
 Lidless Wall (Chest Armor) – Massive base damage multiplier which even works for 2 handed weapons, and provides Cooldown reduction. For Masterworking you’ll want to prioritize Cooldown Reduction.
 Fists of Fate – Any slot except Chest. Large RNG multiplier potentially good baseline stats depending on the rolls. For Masterworking you’ll want to prioritize Attack Speed and/or Critical Strike Chance.
 Bloodless Scream (Boots) – Any slot except Chest. High multiplier for your Darkness skills, added crowd control and added lucky hit essence sustain.
Mercenaries
During the Vessel of Hatred campaign, you will unlock Mercenaries to assist you. While you can choose freely early on, we recommend Raheir as your main merc, and Varyana as a Reinforcement once you reach endgame.
For the reinforcement, stick with Varyana, utilizing her Bloodthirst skill being cast when the player casts Blight.
Build Mechanics
Rotation and Playstyle
It’s all about spam! You want to consistently be casting ![]() Soulrift occasionally you’ll want to cast
Soulrift occasionally you’ll want to cast ![]() Corpse Explosion to benefit from
Corpse Explosion to benefit from ![]() Flesh-eater Paragon Node. By stacking overlapping
Flesh-eater Paragon Node. By stacking overlapping ![]() Soulrifts we trigger
Soulrifts we trigger ![]() Shadowblight Key Passive to deal the vast majority of our damage output.
Shadowblight Key Passive to deal the vast majority of our damage output. ![]() Blight provides a small damage multiplier. Free
Blight provides a small damage multiplier. Free ![]() Blight and
Blight and ![]() Sever casts provide Essence injections via Tempers.
Sever casts provide Essence injections via Tempers.
Make sure to use your healing potion to activate ![]() Crazy Brew for increased cast speed and free casts right before you unleash your damage!
Crazy Brew for increased cast speed and free casts right before you unleash your damage!
The action-bar being filled with Darkness skills, even unused, is designed to scale ![]() Reaper’s Pursuit.
Reaper’s Pursuit.![]() Feo +
Feo + ![]() Ner is utilized to provide a high uptime of Unstoppable.
Ner is utilized to provide a high uptime of Unstoppable.![]() Zan +
Zan + ![]() Thul provides small damage multiplier and some crowd control.
Thul provides small damage multiplier and some crowd control.
Which Elixirs Should You Use?
Visit the Alchemist and craft an Elixir providing better resources via ![]() Elixir of Resourcefulness II or if that is fine you can go for the
Elixir of Resourcefulness II or if that is fine you can go for the ![]() Elixir of Advantage II for increased Attack Speed. Should you need armor you could always run
Elixir of Advantage II for increased Attack Speed. Should you need armor you could always run ![]() Elixir of Iron Barbs II. Some Elixirs cannot be crafted and only drop from things like Helltides or Nightmare Dungeons. Additionally, make sure to keep your health potion upgraded!
Elixir of Iron Barbs II. Some Elixirs cannot be crafted and only drop from things like Helltides or Nightmare Dungeons. Additionally, make sure to keep your health potion upgraded!
Season 10 Updates
For a complete overview of Season 10, mechanics and theme, new leveling activity, and other changes coming, please take a look at our comprehensive season hub here.
- Seasonal mechanic allows the use of
 Soulrift as the absolute best
  Shadowblight trigger.
Obol Gambling
Obol gambling is a great way to potentially find item upgrades or items missing from your build. Check out the new tool guide from Icy Veins for gambling Obols in the link below.
Changelog
- September 18th, 2025: Guide updated for Season 10. The Build is completely reworked from the ground up due to seasonal mechanics!
- June 29th, 2025: Guide updated for Season 9.
- May 5th, 2025: Optimized and updated post launch for Season 8.
- April 26th, 2025: Guide updated for Season 8.
- January 19th, 2025: Guide updated for Season 7.
- October 12th, 2024: New Paragon tool added.
- October 7th, 2024: Paragon board added.
- October 2nd, 2024: Guide updated for Season 6.
- August 5th, 2024: Guide updated for Season 5, Infernal Hordes.
- May 31st, 2024: Fixed a minor Paragon Board route miss.
- May 16th, 2024: Gem updates.
- May 13th, 2024: Guide updated for Season 4 Loot Reborn.
- January 22nd, 2024: Guide updated for Season 3 Season of the Construct.
- October 21st, 2023: Updated Paragon Boards.
- October 15th, 2023: Guide updated for Season 2 Season of Blood, Patch 1.2.
- August 7th, 2023: Guide updated for Patch 1.1.1.
- July 19th, 2023: Guide updated for Season 1 including Malignant Hearts.
