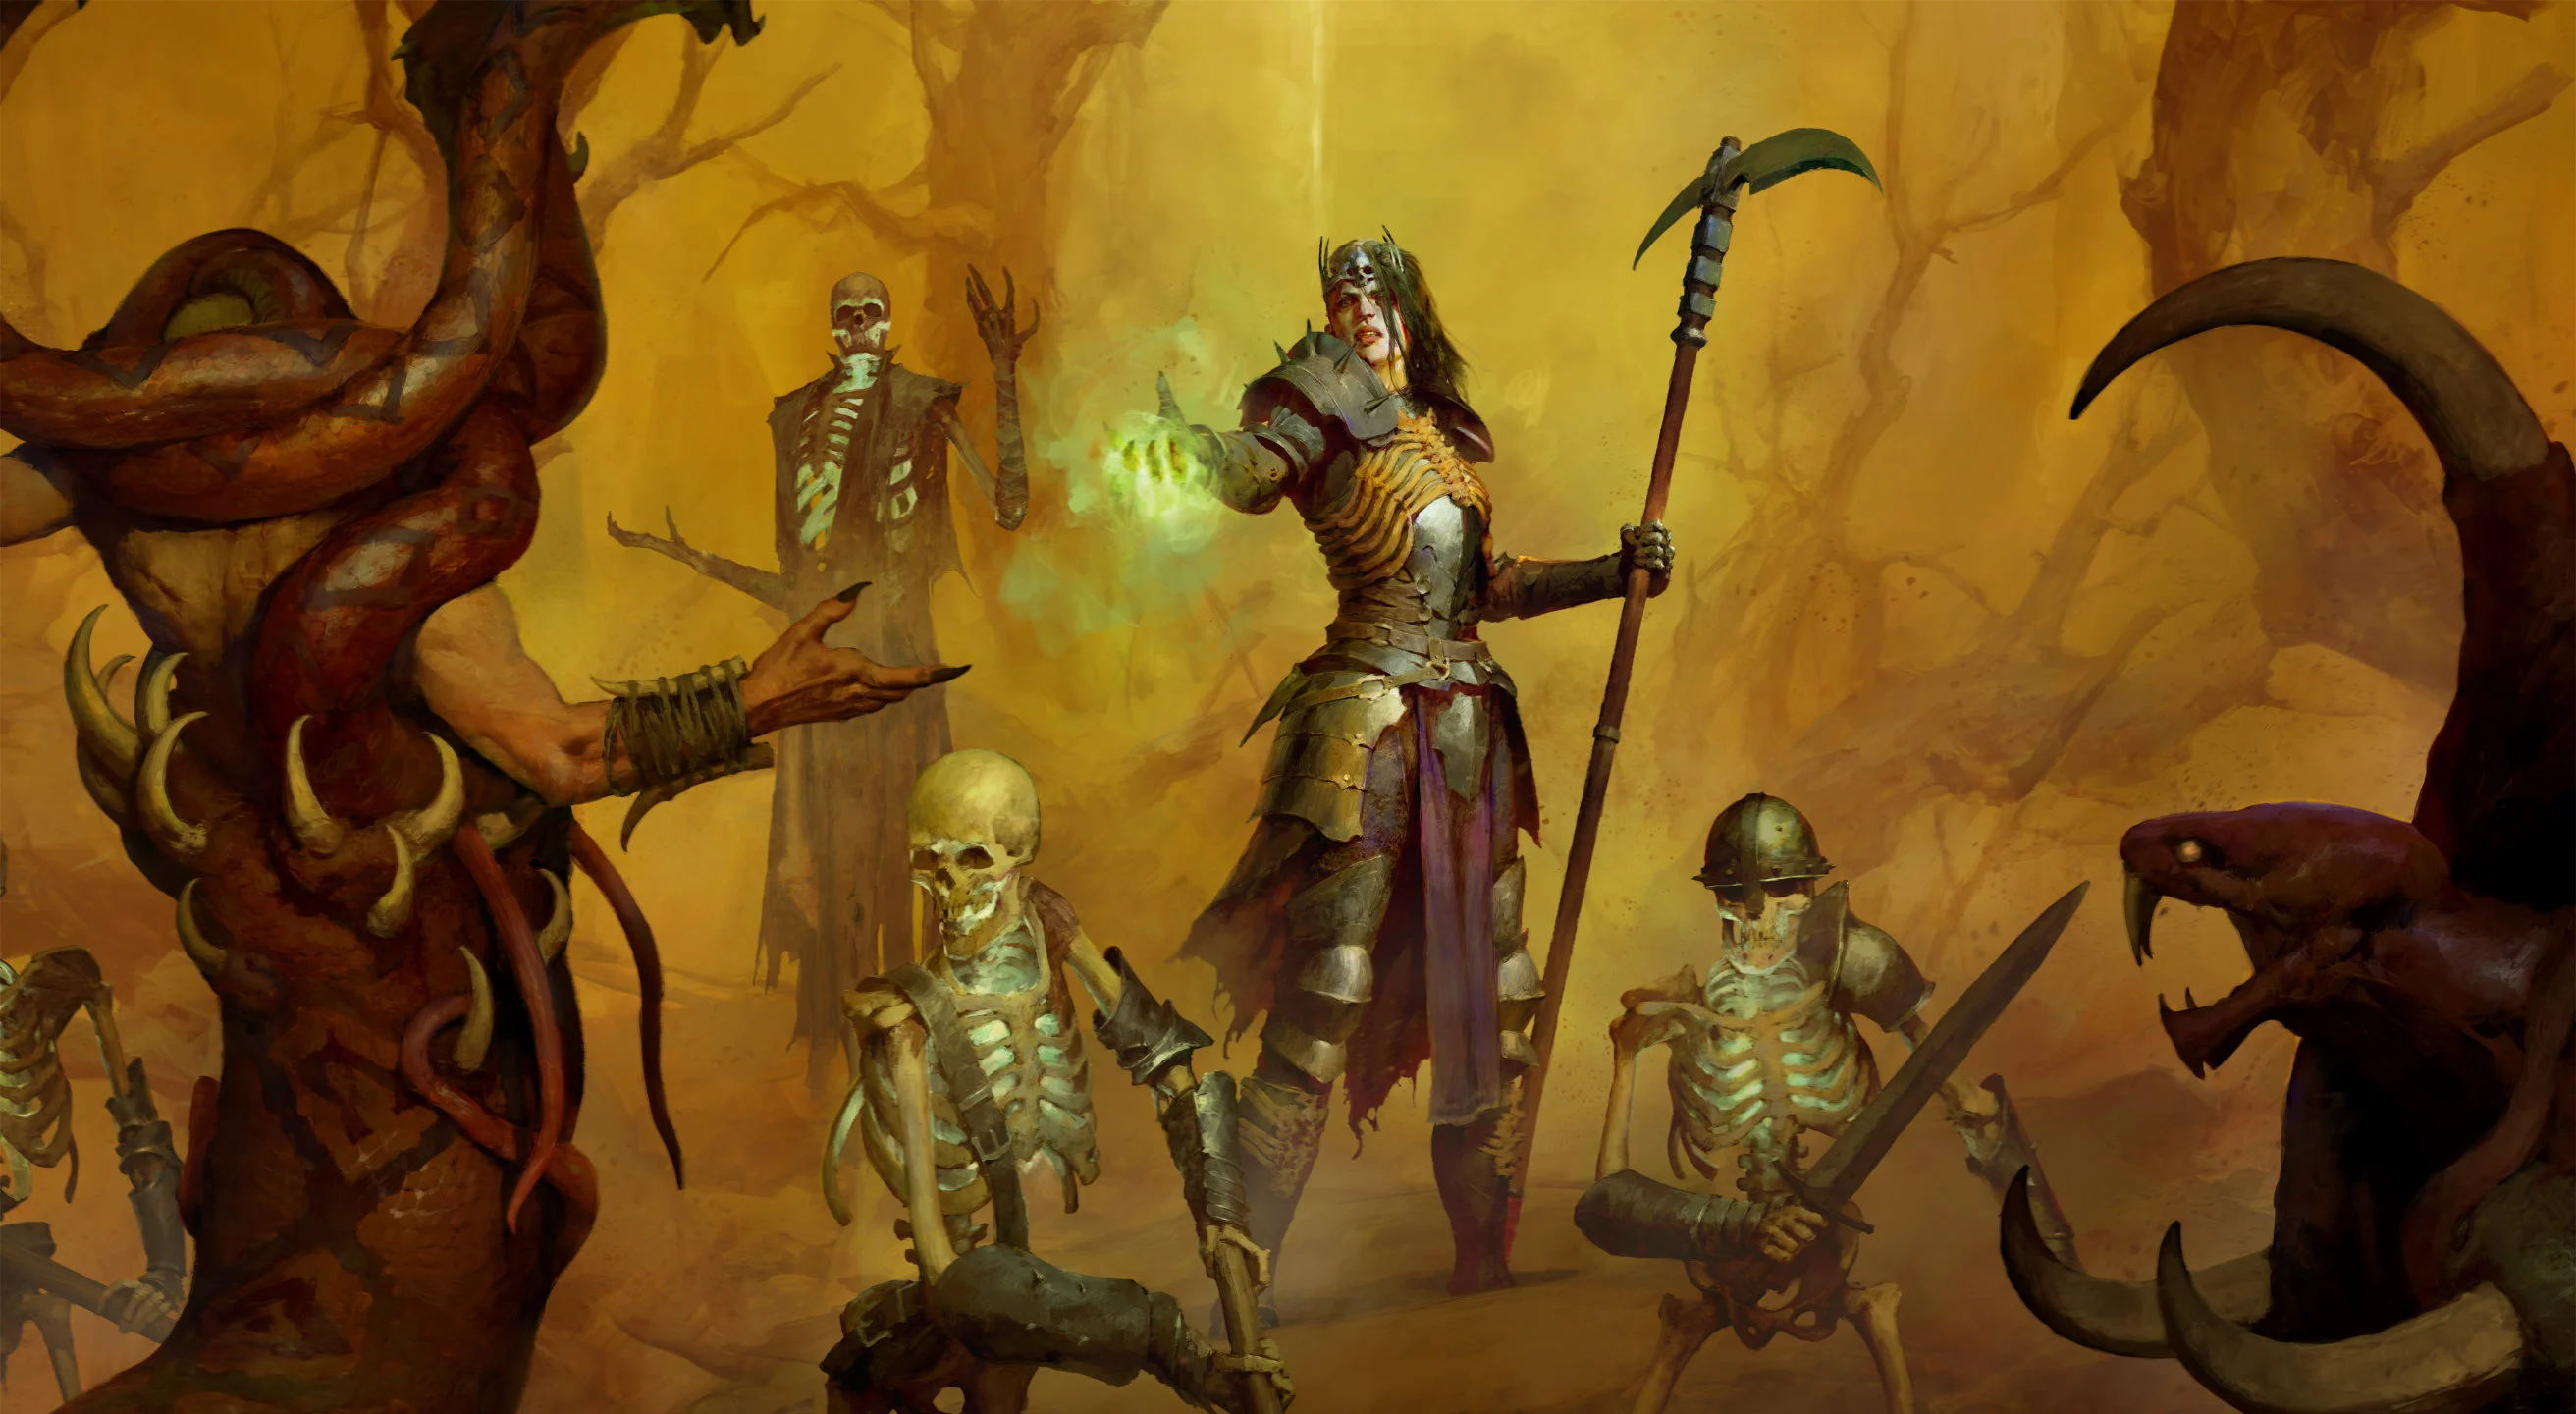


Build Introduction
The  Blood Lance build, for the first time in Diablo 4 history, received the opportunity to become a full-fledged leveling build due to the Skills Tree and Book of the Dead overhaul in the Lord of Hatred expansion. This particular Blood Lance build makes use of unorthodox means to generate Blood Orbs, such as Defender Skeletons, along with the usual
  Hemorrhage and new
  Decrepify
  Life Tap upgrade.
Have questions or feedback on the guide? Join the livestream and ask me!
Quick Navigation
Want to skip ahead? Use the table below to jump to the selections you are looking for.
Skill Bar and Skill Tree Points
Blood Lance Iron Maiden
 Skeleton Warrior
 SeverHemorrhage
 Soulrift
Use the Skill Tree above to complete the 83-point build. 69 skill points are gained by leveling, and 14 skill points are locked behind the Season Rank System or Renown for Seasonal or Eternal characters, respectively. Use “Leveling Path” toggle to see the exact order of skill allocation.
If you get extra skill-points from the Seasonal Journey early on, and it throws off build order – just throw them into Blood Lance ranks.
Decrepify is activated via  Wat Runeword if obtained, making it not needed on the skill bar.
The new Lord of Hatred expansion Skill Tree unlocks in stages, permanently unlocking new skill clusters. For example, Necromancer Curses unlock at level 13, so from level 13 it is possible to refund all previously allocated skill points and start leveling skills starting from the Curses cluster right away (or anywhere above it).
Skill points from the Season Rank System or Renown do not affect Skill Tree progress and can be allocated to skill ranks you already unlocked.
The Build Mechanics section helps to explain how these Skills play and interact.
Following Necromancer’s Class Mechanic will explain how it will be adjusted at certain levels to synergize with your Skills progression.
Necromancer Class Mechanic – Book of the Dead
Necromancer’s class-specific ability is the Book of the Dead, which provides three different types of minions at different levels. This build is designed around using only one type of your minions for utility purposes at some point.
Key Minion type changes during progression:
- Level 5: Skeleton Warrior – Skirmishers [Upgrade #1] (Extra 2 Skeleton Warriors for free)
- Level 5:
 Skeleton Mage – Shadow [Upgrade #2] (Barrier generation)
 - Level 8:
 Golem – Bone [Upgrade #1] (Corpse generation on demand for
  Corpse Explosion)
 - Level 15: Skeleton Warrior – Defenders [Upgrade #1] (10% chance to generate Blood Orb)
- Level 15: Skeleton Mage – Cold [Sacrifice] (Increased Damage to Vulnerable)
- Level 15: Golem – Bone [Sacrifice] (Increases Attack Speed)
Final setup:
 Skeletal Warriors: Defenders [Upgrade #2] – Defenders have 10% chance to form a Blood Orb when dealing damage.
- Skeletal Mages: Cold [Sacrifice] – Increased Damage to Vulnerable 20%[x].
- Golem: Bone [Sacrifice] – Increased Attack Speed 10%[+].
Gear, Stats, Gems and Runes
Check the sections below for important gearing considerations to improve your character’s power while leveling.
Legendary Item Aspects
In the new Lord of Hatred expansion, Legendary Aspects became significantly more powerful, so it is a good idea to keep an eye on everything you can research from early on. We have a dedicated in-depth Aspect and Codex of Power guide that you can check out for more information on gear enchanting.
Always salvage gear you don’t use, even if you already have a better Legendary Aspect roll in the Codex of Power. Stockpiling crafting materials from early levels will pay off during the Torment World Tier push.
Always check the merchant’s stock when visiting town – not only do they sell affordable Magic and Rare gear relevant for your level, but they also sometimes sell Legendaries.
Building up Mercenary Rapport from early levels and bartering for Aspect Caches or specific Legendaries is a great way to hunt for specific slot Legendary Aspects.
The Purveyor of Curiosities is another excellent way to obtain specific slot Legendary Aspects, and even Uniques – by gambling with  Murmuring Obols you farmed in your journey.
Imprinting Aspects costs 10  Baleful Fragments, which can be acquired early mostly by salvaging Legendary or Unique gear, or opening Baleful Chests in PvP zones. The scarcity of useful Aspects to imprint and the high cost of imprinting – multiplied by the extremely high rate of gear turnover – makes it impractical to imprint your gear until you are about to progress past the Penitent World Tier.
The most efficient way is to maintain only a few of the most powerful Legendary Aspects on your gear. These should be strategically placed on gear pieces that you can avoid replacing for the longest possible time. Weapon slots are eliminated due to the highest gear turnover rate. The ideal spot is the Amulet, due to the 150% effect of the imprinted Aspect and the rarity of useful, high-value affixes on that slot during the early game.
These are the most impactful Legendary Aspects that can speed up the leveling process:
 Aspect of Rathma’s Chosen
- Aspect of Thickened Blood
- Aspect of Coalesced Blood
- Aspect of Amplified Damage
 Aspect of Potent Blood
 Aspect of Transfusion
These are the most impactful Uniques accessible early, that can speed up the leveling process:
 Mutilator Plate – Blood Lance themed Unique, massive damage multiplier and Blood Orb generation
 The Undercrown – more Skeleton Warrior provides meat shield and more Blood Orb generation
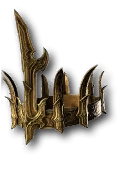 Leoric’s Crown – scaling
 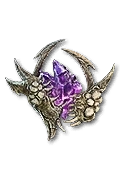 Splinter of Hellfire for damage multiplier at the cost of Critical Strike Chance you never had in first place, and such
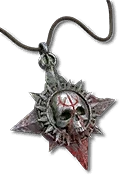 Red Blessing – best in slot synergy with Blood Orb generation and consumers, such as Blood Lance and
  Blood Wave
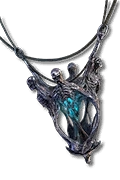 Will of Rathma – decent damage multiplier with no downsides
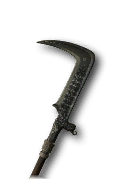 Insight – absolutely a beast of the item, massive size of all necessary affixes for the build, but it is better to keep the runes, until max level Ancestral item base is acquired
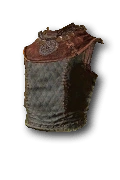 Stealth / Enigma – early versions of best in slot Chest pieces for many builds – provide exceptional mobility and solid defenses until Mutilator Plate is acquired
Stat Priority and Tempering Affixes
Keep in mind that Tempering Affixes are unlocked by Tempering Manuals you find as you progress. Be sure to check our Tempering guide for more details about this topic.
Try to obtain the highest  Worldly Endurance tempering recipe available as early as possible, because of the extreme difference in Maximum Life rolls between recipe rarities.
One of the regular affixes on a gear piece can be re-rolled repeatedly until the desired outcome. This is covered in our Occultist guide for more details.
Both Tempering and Enchanting are very affordable in the early game, costing only 5  Veiled Crystals
Generally, you will be trying for the following Best in Slot Uniques or stats in descending priority:
| Slot | Affixes | Tempering Affixes |
| 2H Weapon | 1. Weapon Damage 2. x% Physical Damage / All Multiplier 3. Maximum Life 4. Intelligence | Weapons – Worldly Destruction – Attack Speed |
| Helm | 1. Essence per Second 2. Maximum Life 3. Armor 4. Resistance to All Elements 5. Intelligence | Defensive – Worldly Endurance – Maximum Life |
| Chest | 1. Essence per Second 2. Maximum Life 3. Armor 4. Resistance to All Elements 5. Intelligence | Defensive – Worldly Endurance – Maximum Life |
| Gloves | 1. x% Vulnerable Damage Multiplier 2. x% Physical / All Damage Multiplier 3. Attack Speed 4. Maximum Life | Offensive – Worldly Finesse – Vulnerable Damage |
| Pants | 1. Essence per Second 2. Maximum Life 3. Armor 4. Resistance to All Elements 5. Intelligence | Defensive – Worldly Endurance – Maximum Life |
| Boots | 1. Movement Speed 2. Essence per Second 3. Maximum Life 4. + Evade Charges 5. Resistance to All Elements | Mobility – Natural Motion – Movement Speed |
| Amulet | 1. x% Vulnerable Damage Multiplier 2. x% Physical / All Damage Multiplier 3. Attack Speed 4. Movement Speed 6. Maximum Life | Offensive – Worldly Finesse – Vulnerable Damage |
| Rings | 1. x% Vulnerable Damage Multiplier 2. x% Physical / All Damage Multiplier 3. Attack Speed 4. Maximum Life 5. Resource Generation | Offensive – Worldly Finesse – Vulnerable Damage |
Gems and Runewords
It is not recommended to socket items until level 50+ due to material cost and the fact that you’ll be replacing your gear too frequently, especially weapons.
If a socket already exists in your gear, use the following gems:
- Weapon:
 Skull for Physical Damage increase.
 - Jewelry:
 Soul Splinters,
  Ruby for Fire Resistance,
  Topaz for Lightning Resistance.
When it comes to Runewords, there are only a couple that this build can utilize well. The most attractive ones available early are:
 Cir+
Cir+  Ceh – Summons Spirit Wolves, applying Vulnerable, Chill and triggering your Lucky Hit procs.
 Igni + Wat – Applies Decrepify automatically along with your skills once every 1.2 seconds. This allows you to switch to the Iron Maiden curse on your bar and use both for free without having Decrepify on your bar. See the leveling instructions in the footnotes for the Allocation of Skill Points.
 Cir +
Cir +  Que or Igni + Que – Maintains Druid’s
  Earthen Bulwark for extreme survivability.
Make sure you slot these in your Helmet, Pants or Chest, since you will be replacing your weapon very frequently. You get runes back for free when salvaging an item.
| Soul Splinter | Slot preference | Effect |
 Abyssal Splinter of Pain Abyssal Splinter of Pain | Avoid | You gain 40% Damage Reduction, but you lose 30% Movement Speed. |
 Abyssal Splinter of the Black Soulstone Abyssal Splinter of the Black Soulstone | Jewelry | Killing enemies absorbs a soul for 15 seconds. Each soul increases your damage by x5.0% but increases your damage taken by 0.5%. This effect stacks, but does not refresh. |
| Abyssal Splinter of Hellfire | Leoric’s Crown or worse prioritized Jewelry | You deal x100% increased damage, but lose 100% Critical Strike Chance. |
 Abyssal Splinter of the Mother Abyssal Splinter of the Mother | Avoid | You are Unhindered. Touching enemies makes them Vulnerable for 10 seconds. After touching 250 enemies, you are Stunned for 4 seconds. |
| Abyssal Splinter of Anguish | Jewelry | You gain +35% Attack Speed and Critical Strike Chance, but your Primary Resource Costs are increased by 30%. |
 Abyssal Splinter of Lies Abyssal Splinter of Lies | Leoric’s Crown or worse prioritized Jewelry | You gain 100% increased Gold Drop Rate, Crafting Material Drop Rate, and 25% Bonus Experience, but you are always Weakened and Vulnerable. |
 Abyssal Splinter of Sin Abyssal Splinter of Sin | Optional Jewelry (when pushing Torment tiers) | You gain x40% Maximum Life, but your Maximum Primary Resource is reduced by 30%. |
 Abyssal Splinter of Damnation Abyssal Splinter of Damnation | Avoid | Killing an Elite Pack increases Monster Power by 1 for 25 Seconds |
Season Mechanics
Splinters of Evil
In Season of Hell’s Legacy, one of seasonal powers will consist of the three  Splinters of Prime Evil, acquired by completing seasonal questline and defeating echoes of Diablo beneath Tristram Cathedral, Baal at Arreat Summit, and Mephisto within the Durance of Hate. Splinter of Evil trigger iconic Prime Evil area of effect damage abilities and alter actitivies associated with the Prime Evil.
Main consideration for first Splinter of Evil choice is expected to be in activity modifiers. Only one Splinter of Prime Evil can be used at a time, but there is a mechanism to change. Due to Helltide being the most common early progression activity, it is recommended to use Splinter of Terror first.
Duplicitous Soul Splinters
The second layer of seasonal powers consists of Duplicitous Soul Splinters gems, like Abyssal Splinter of Hellfire, to be slotted into jewelry and the newly introduced Leoric’s Crown helm. You can equip up to three Soul Splinters among available Jewelry slots.
Duplicitous Soul Splinters gems provide sizeable buffs to some stats at the price of heavy penalties to others. One should be careful at making choices to either ignore the penalty – Damage over Time builds do not care about losing Critical Strike Chance, or compensate it – Minion builds often have an abundance of Critical Strike Chance from  Pact of Bone, Litany of Death,
  Roll The Bones etc.
Recommended Duplicitous Soul Splinters setup to can be looked up in Gems and Runewords.
Diablo II Runewords Gear
In Season 15 some Diablo II runes, like 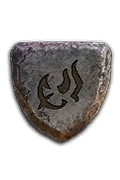 Ral or
 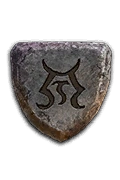 Ith were reintroduced for the season, as the cherry on top. While being not impressive on their own – they can be used to craft new Unique gear piece by combining certain runewords and Normal “white” item base inside Horadric Cube. There are few the most impressive outcomes, like Enigma (Jah Ith Ber),
  Spirit (Tal Thul Ort Amn),
  Grief (Eth Tir Lo Mal Ral) or
  Infinity (Ber Mal Ber Ist). Ancestral version of item base will produce the Ancestral version of Unique.
For a complete overview of the current Season, its mechanics and theme, new leveling activities, and other changes, please take a look at our comprehensive season hub here.
Talismans
The Lord of Hatred expansion introduces Talismans as a new character progression and itemization layer. Find, equip, and fill a suitable Horadric Seal with a variety of Charms. These grant everything from plain stats similar to any gear piece to powerful set effects, doubling down on and elevating Necromancer archetypes to new heights.
This builds Talisman goalposts would be:
- Horadric Seal with the most Charm Slots possible
- Charms and Seals with valuable affixes, like:
- + 1 Charm Slot
- + to Core Skills
- + to Blood Skills
- +% Attack Speed
- +% Movement Speed
- +%[x] Damage
Mercenaries
The mercenaries are useful, but not a crucial addition to the game, so whichever one you choose to run is up to you. Aldkin helps to reach meaningful Critical Strike Chance thresholds with  Raging Violence. Varyana improves skill rotation speed with
  Bloodthirst. Subo reveals enemies and resources on the minimap for optimal routes. Raheir protects you in times of need with
  Valiance and
  Bastion.
The default recommendation for this build will be to run Varyana:


We also recommend using the Reinforcement slot to level up all your mercenaries to get access to the caches for extra loot.
Build Mechanics
This is a classic Blood Lance build that focuses on Gore Quills over Blood Seeker to make good use of the new Blood Orb generation mechanics in the Lord of Hatred expansion.
Rotation and Playstyle
Before Level 15:
- Send Golem into enemies using the active ability to shed corpses at the targeted spot.
- Send Skeleton Warriors to attack enemies.
- Use Corpse Explosion until corpses created by Golem (Bone) and
 Decompose are exhausted.
 - Channel Decompose to create more corpses and deal some extra damage.
- Repeat.
After Level 15 and Skills Reset:
- Use a few Iron Maiden casts to curse as many enemies as you can. Avoid casting it over Blood Orbs, if possible, or they will be auto-picked.
- If mob density may pose a threat, or the fight may take more than 10 seconds, activate Soulrift and use Sever Blink to get in range.
- Keep attacking the tankiest and nearest enemy with Blood Lance and restore Essence with Hemorrhage, ideally on Frozen enemies for extra Blood Orbs.
- Don’t bother controlling Skeletons, just let them attack something without interruptions to generate more Blood Orbs.
- Repeat.
Season Updates
Below you’ll find the most noteworthy changes for Season 15 Hell’s Legacy:
- Slight Blood Lance base damage buff
- Reworked Red Blessing has a chance to drop from level 1 with a huge damage multiplier and perfect synergy
For a complete overview of the current Season, its mechanics and theme, new leveling activities, and other changes, please take a look at our comprehensive season hub here.
Difficulty and Endgame
This guide is designed to get you to level 70 in a smooth and enjoyable way. Once there, you’ll want to look at a proper endgame-designed build guide and start making required preparations. Make sure you pick one of our recommended ones!
Recommended World Tier to start: Hard
Quantity over quality is a road to success in leveling. Staying at a difficulty level where Elites and Seasonal content pose low threat and do not take any significant time to kill nets the most experience. Moving upwards through World Tiers should happen when the requirements to unlock the next level become trivial.
Preparations for endgame builds usually take time to acquire the required gear and will result in the character unlocking the Paragon Board after reaching level 70. To continue progressing and farming gear more efficiently, the selected endgame build Paragon Board can be followed.
Changelog
- September 15th, 2026: Guide updated for Season 15.
- June 26th, 2026: Guide updated for Season 14.
- April 29th, 2026: Added Skills Tree, simplified and optimized
- April 26th, 2026: Guide created for the Lord of Hatred expansion.